How to set up RFID
Before using RFID, install an RFID reader, connect it to a tracking device, and configure it to send tag identifiers to PILOT.
1. Install the hardware
1. Install an RFID reader on the vehicle or other equipment
2. Connect the RFID reader to the tracking device that sends data to PILOT
3. Attach RFID tags to the objects you want to identify. For example, tags can be installed on containers, trailers, equipment, checkpoints, and other stationary or movable assets
2. Configure the RFID Reader in PILOT
1. Add an RFID sensor to the object's sensor list
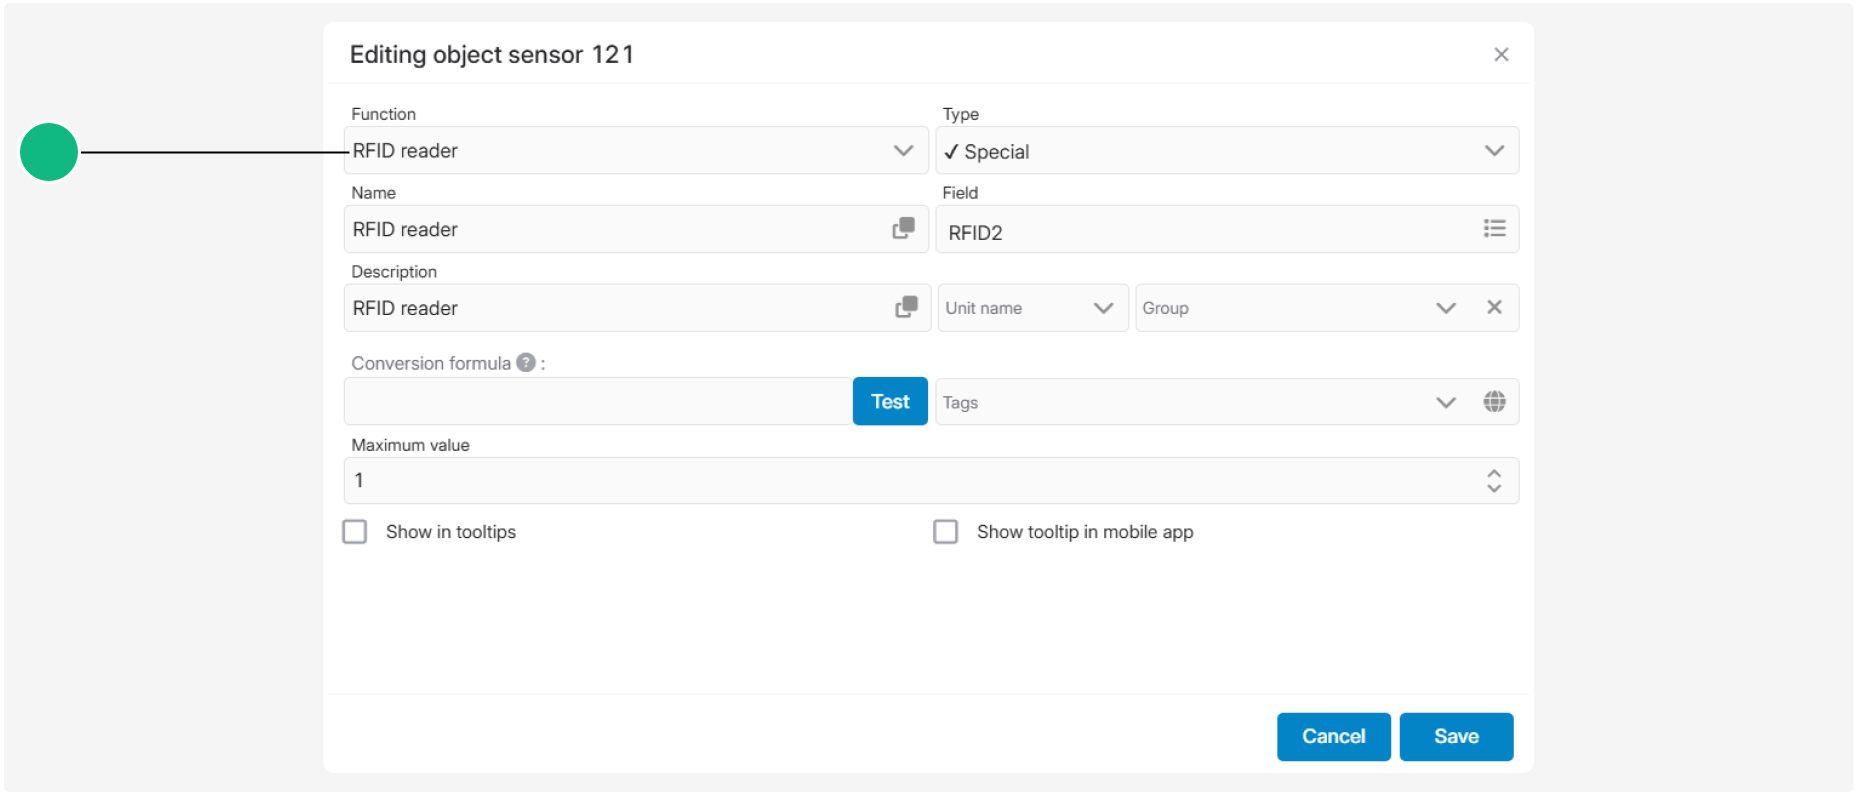
2. Select the device field that receives the RFID tag identifier from the reader
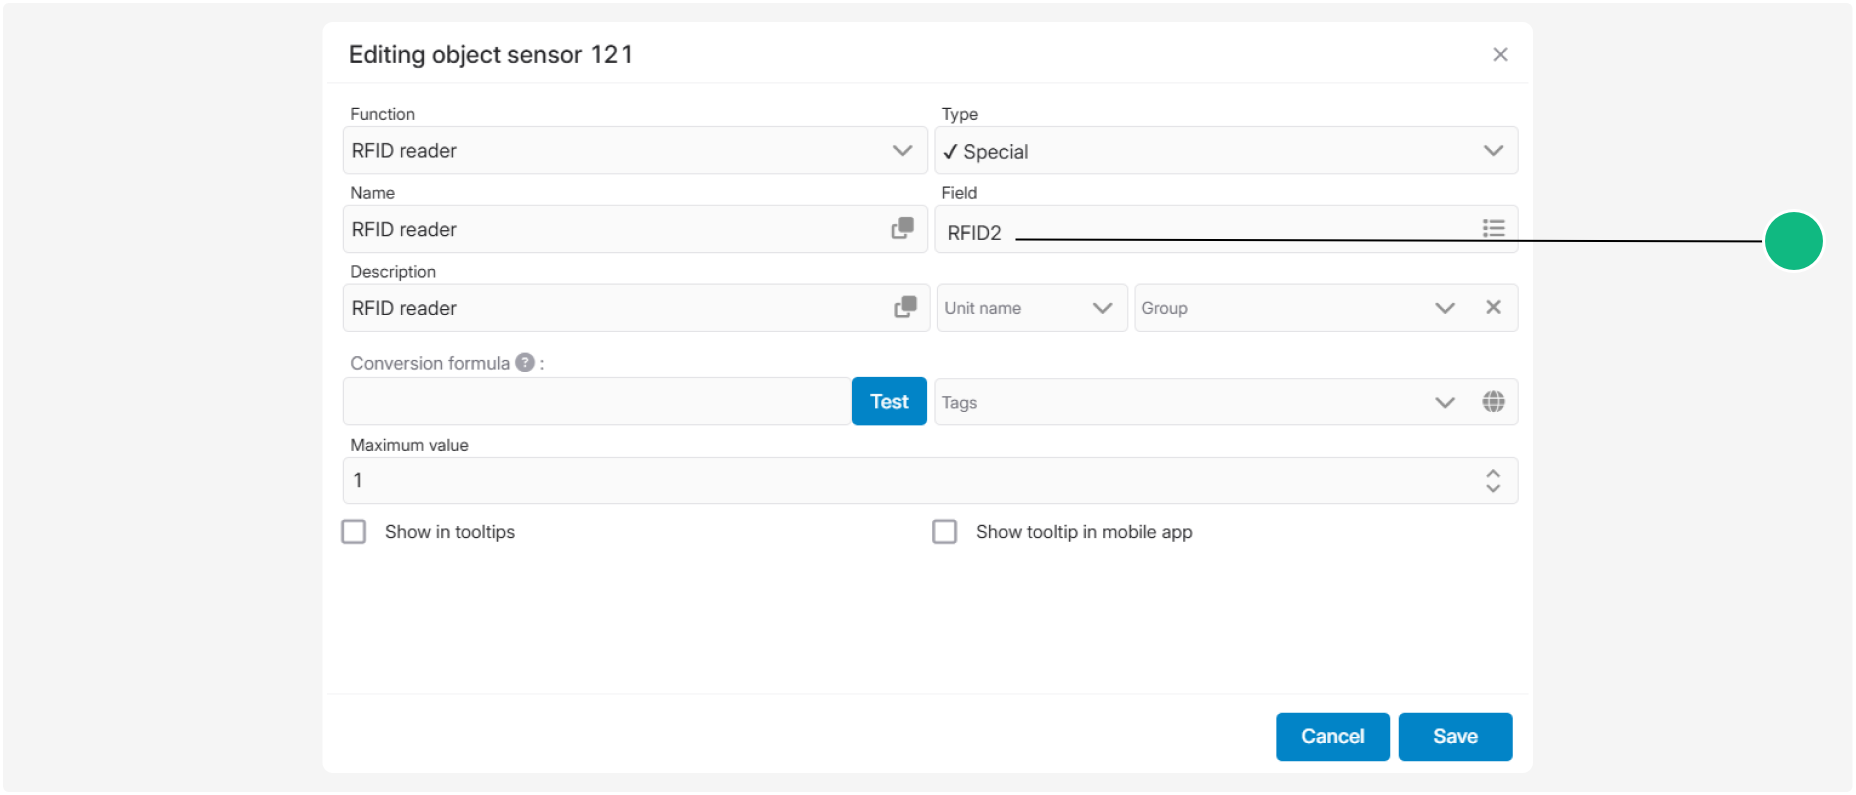
3. Save the settings
After the configuration is complete, PILOT will begin receiving tag identifiers from the tracking device and matching them with RFID tags stored in the RFID tag directory.
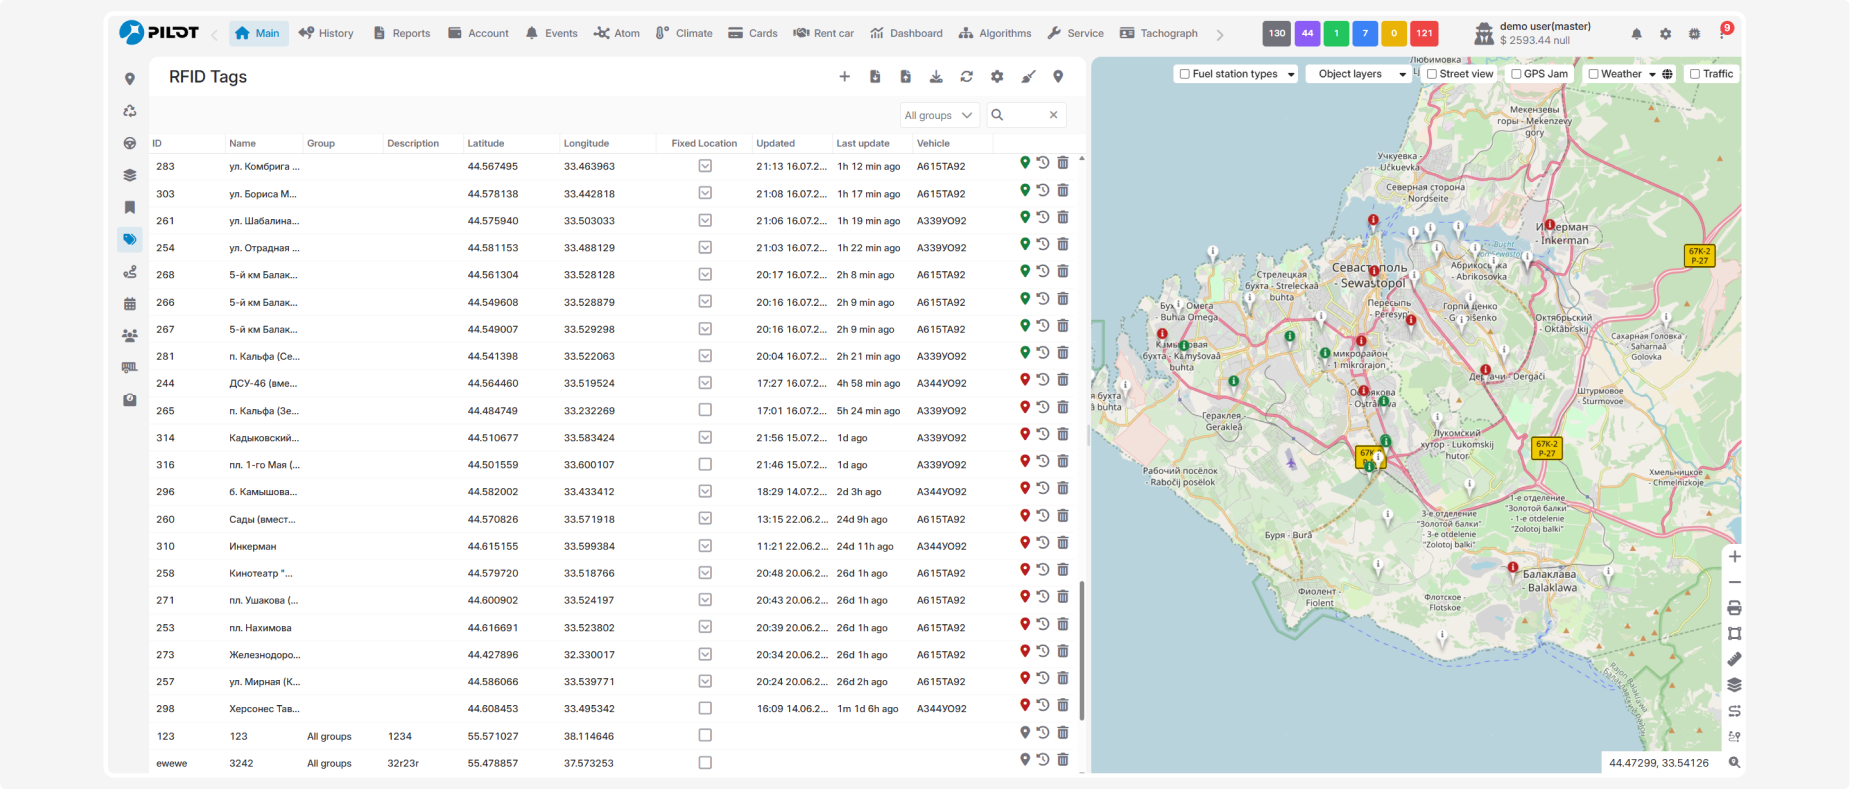
If the RFID reader sends an identifier that does not exist in the RFID tag directory, PILOT cannot match it to an existing tag. In this case, the tag may be displayed as Unknown.

Once an RFID tag with the corresponding identifier is added to the system, PILOT will recognize it correctly during subsequent reads.
3. Add RFID Tags to the directory
Add the RFID tags used by your assets to the RFID tag directory.
For each tag, specify its unique ID and any other required information. Once the tag is saved, PILOT will be able to match identifiers received from the RFID reader with the corresponding RFID tags.
For detailed instructions, see Managing RFID Tags.
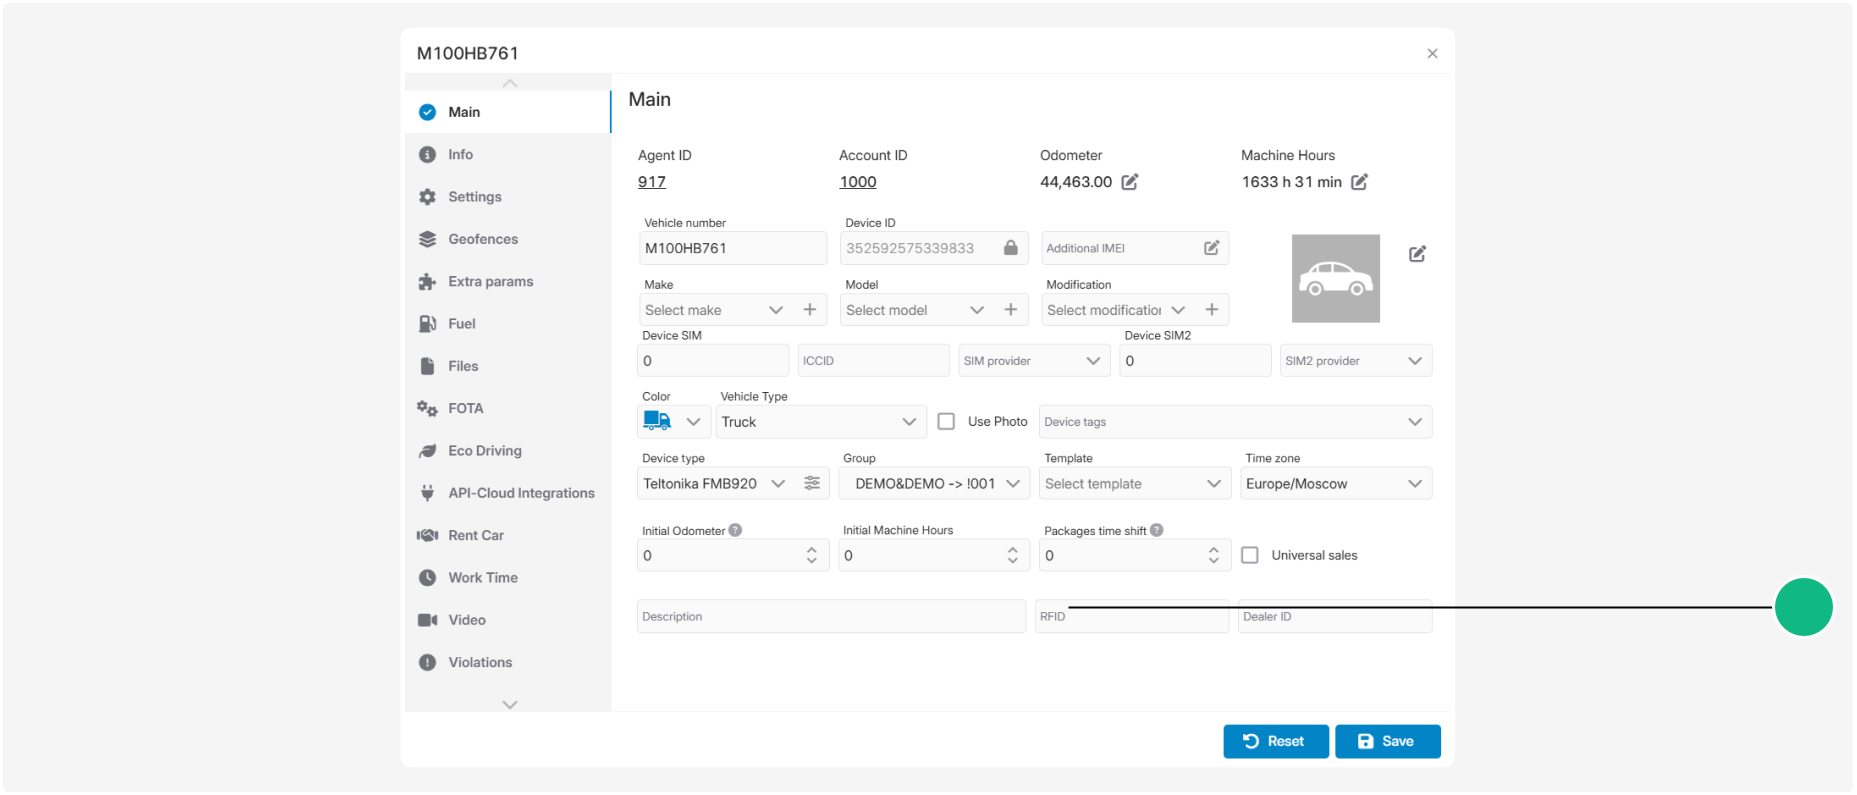
RFID field in the object card
The object card includes an RFID field where you can specify the identifier of the RFID tag associated with the object.
For example, if the monitored object is a container equipped with an RFID tag, enter the tag's identifier in this field. PILOT uses this information in the RFID module and when generating RFID-related reports.