Downtimes
Downtime is the period when a vehicle is temporarily not in use. For example, when it is undergoing maintenance or repair.
In the Downtimes tab, you will see all records of vehicle downtime periods.
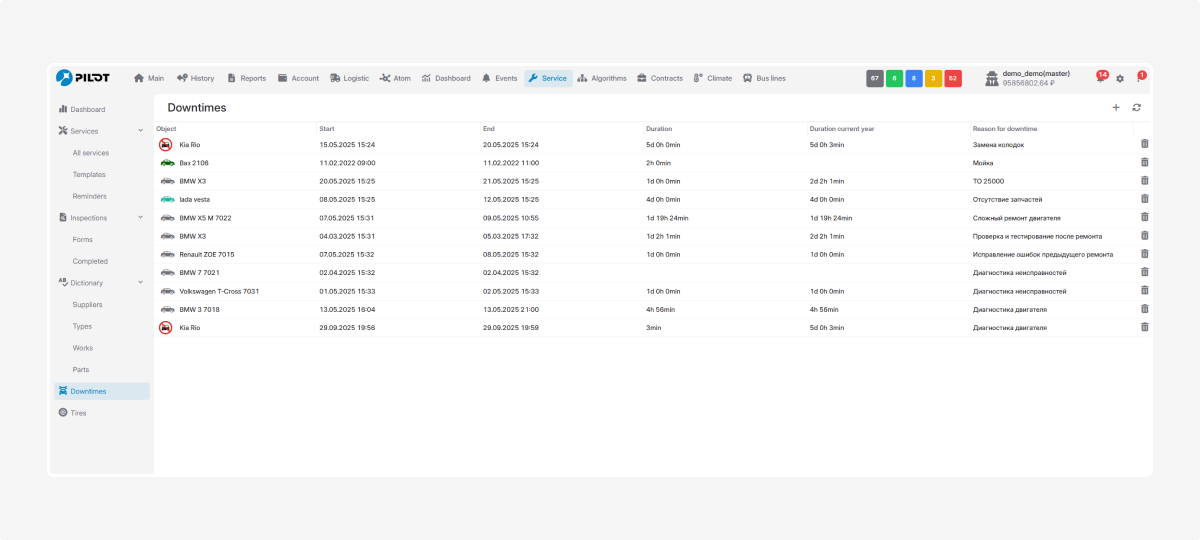
How to create a downtime record:
1. In the Downtime tab, click Add 
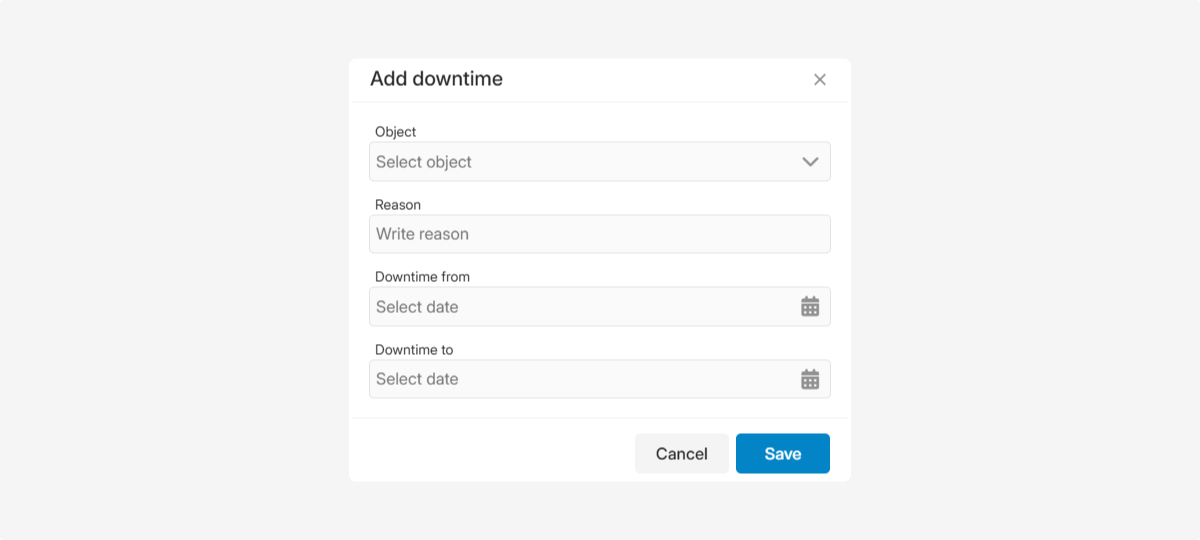
2. In the new window:
-
Select the object (vehicle) currently in downtime
-
Specify the reason for downtime
-
Choose start and end date and time using the calendar
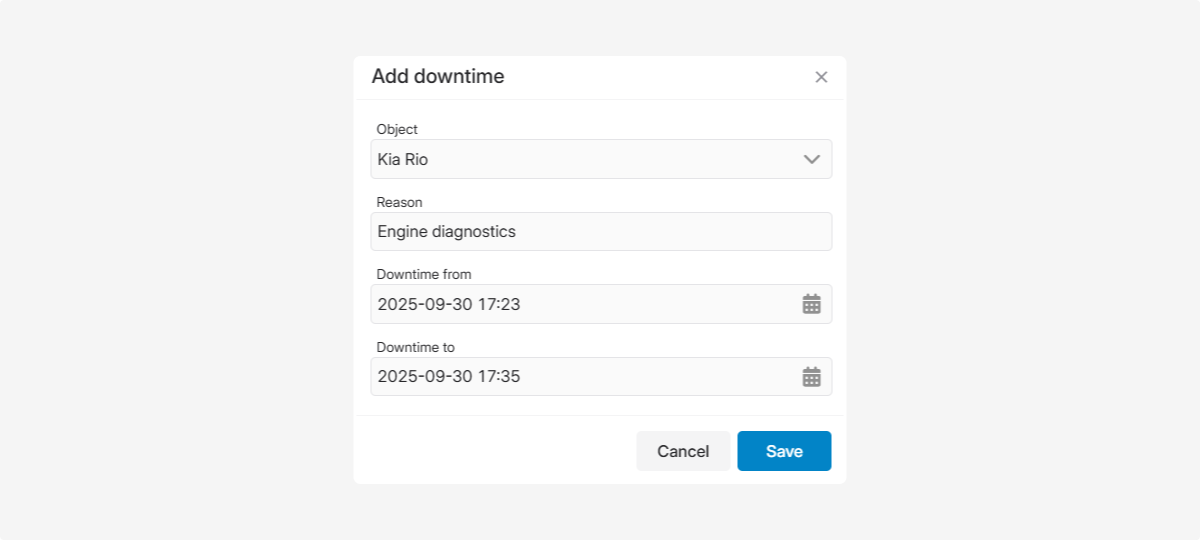
3. Click Save — the downtime record will appear in the list
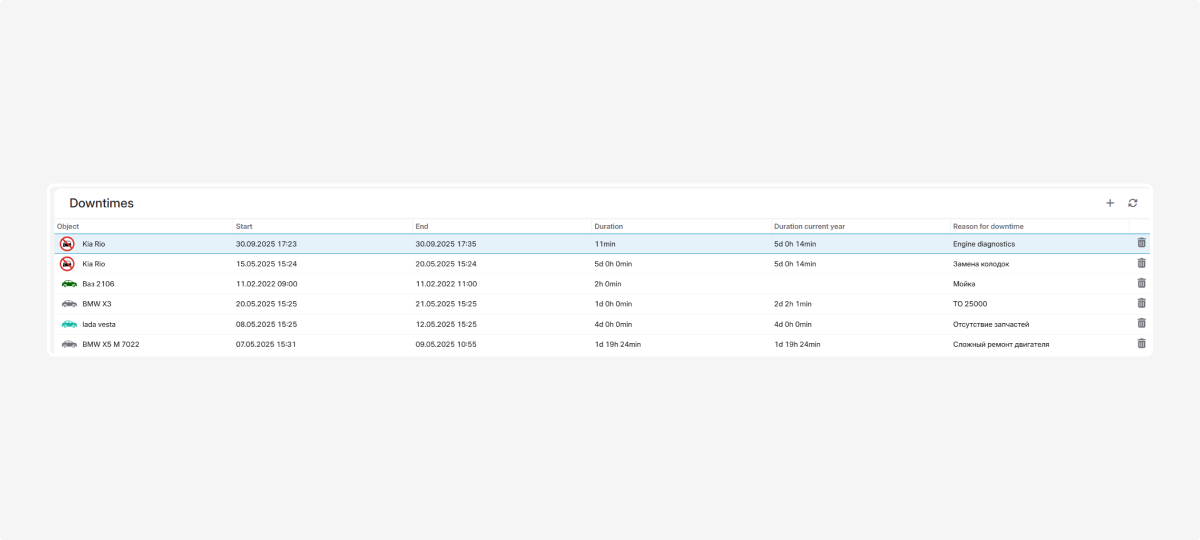
How to edit or delete a downtime record
-
Edit: double-click the record in the list, update the details, and save
-
Delete: click the delete icon
 next to the record
How downtime is displayed
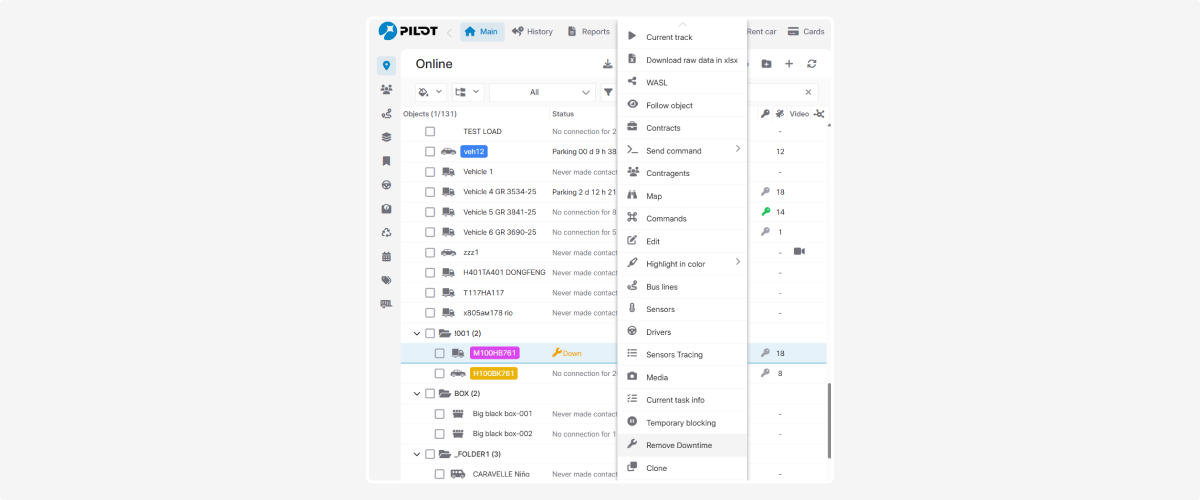
When you create a downtime record for a vehicle due to maintenance, a special icon 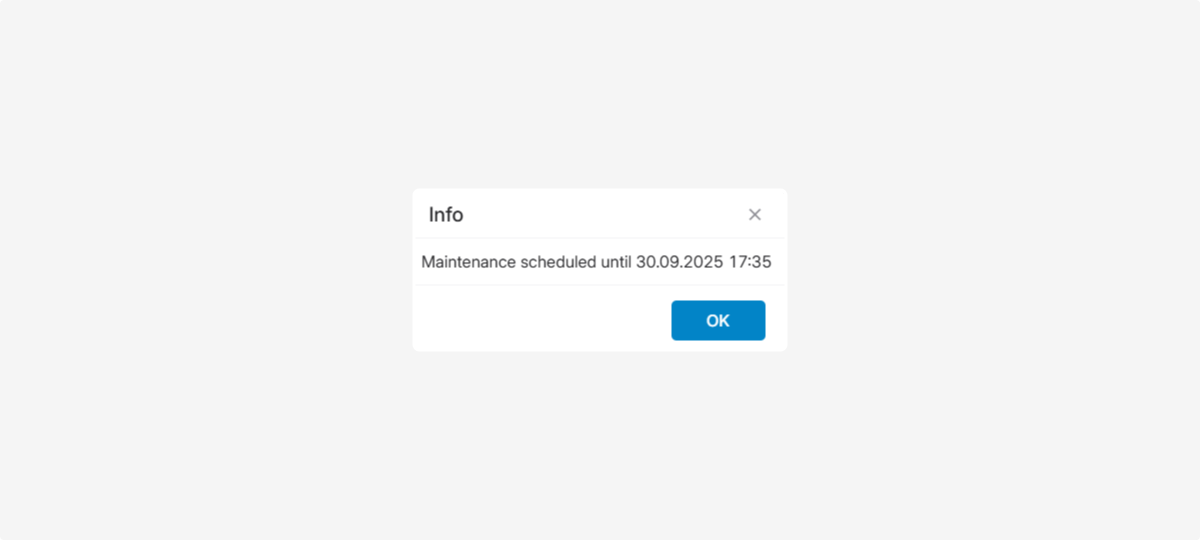 appears next to the object in the Online tab, and the object status changes to Downtime, highlighted in yellow.
appears next to the object in the Online tab, and the object status changes to Downtime, highlighted in yellow.
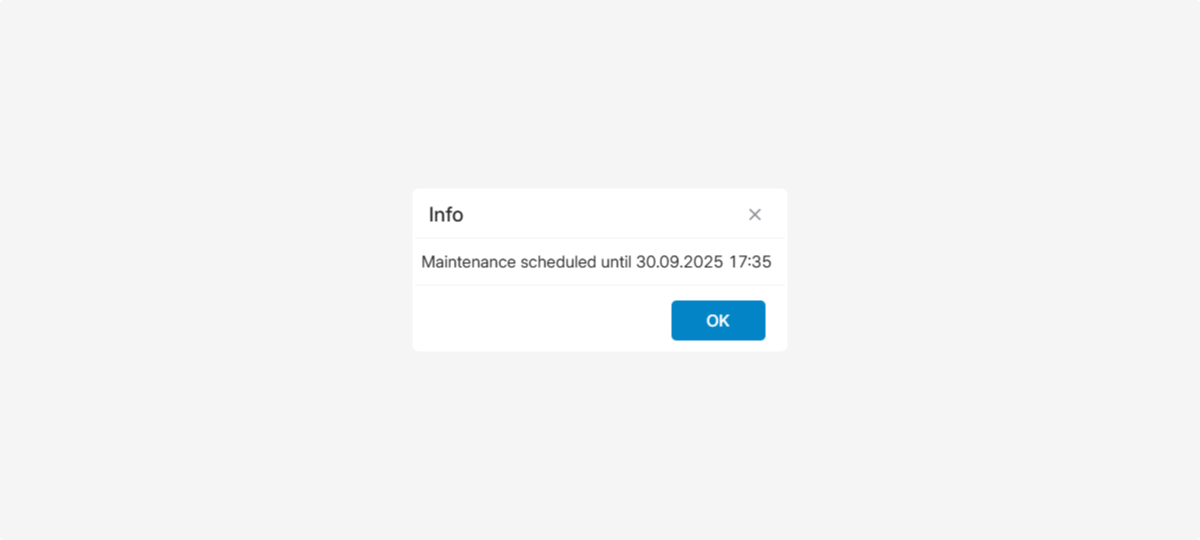
Clicking the icon will open a window with details about the maintenance period — you’ll immediately see how long the downtime is planned for.
Object behavior during downtime
-
If the downtime has already startedThe object status automatically changes to “Downtime”, and it is excluded from the issues and alerts panel. This helps keep real-time monitoring clear and focused.
-
If the downtime is scheduled for the futureOnly the icon is displayed, while the object status remains unchanged until the downtime start time.

1. Go to the Online tab
2. Select the required object from the list
3. Right-click on it to open the context menu
4. Select Add downtime
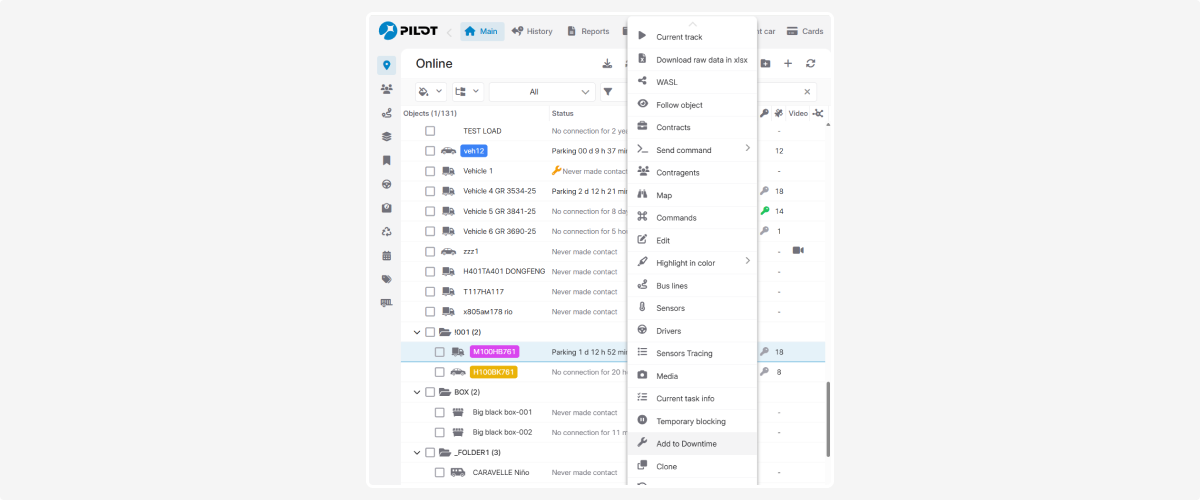
After that, a downtime record will be created for the object, and a wrench icon will appear next to it.
How to remove downtime
1. Right-click on the object
2. In the context menu, select Remove downtime
3. Confirm the action