How to add stops
A stop is a geographic area that the bus must visit during a bus line route.
1. Go to the bottom part of the workspace — here you will see the list of all stops
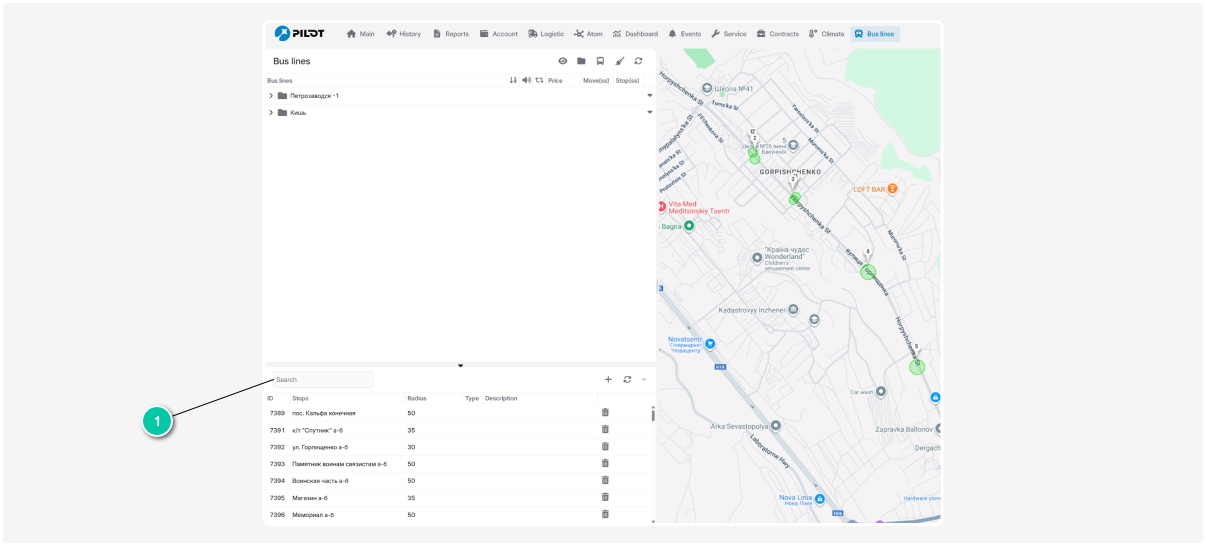
2. Click the Add stop button  to create a new stop
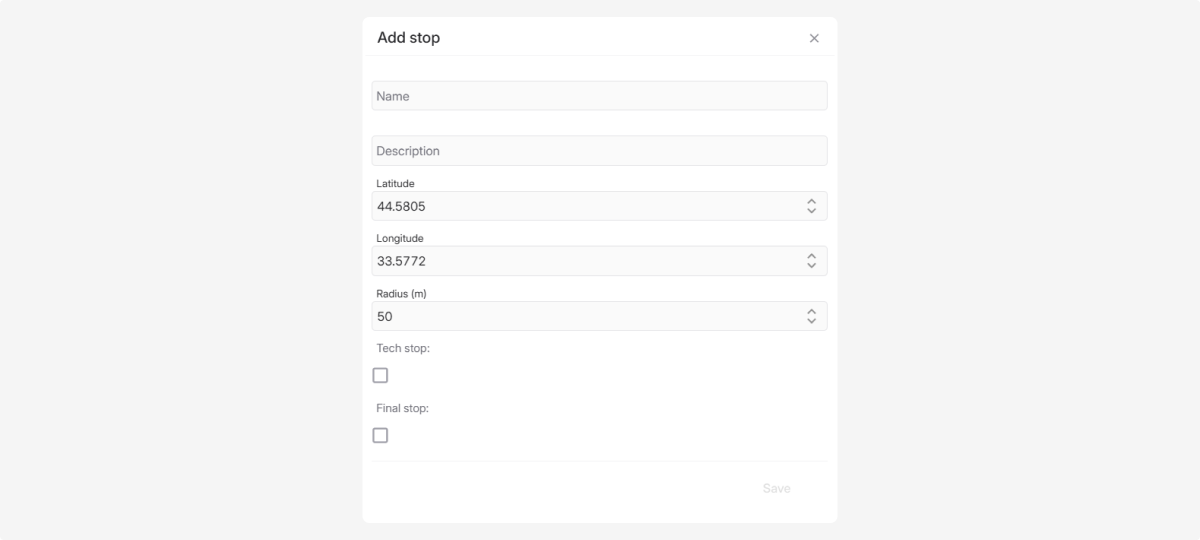
to create a new stop3. In the window that opens, fill in the following:
-
Name and description
-
Coordinates: enter manually using arrows or by moving the marker on the map
-
Stop radius (m) — the zone within which the bus arrival is registered
Optionally, you can check:
-
Technical stop
 — not included in passenger boarding or alighting, but counted in the route calculation.A technical stop is a point on the route that:
-
Does not appear in passenger schedule
-
Does not record passengers boarding or alighting
-
Is used in route construction — helps define the correct route trajectory
-
Can be used for bus movement monitoring — e.g., as a control point
-
Does not affect passenger flow reports — its data is not included in boarding/alighting statistics
-
-
Final stop
 — the point where the route ends, after which the bus starts the return trip.If you mark a stop as Final, the system will treat it as the last stop on the route:
-
The route will be trimmed — all stops after this one will not be used
-
The bus will start moving in the opposite direction — switching to the return schedule (if the line is bidirectional)
-
Only stops up to and including this final stop will be included in schedules and reports
-
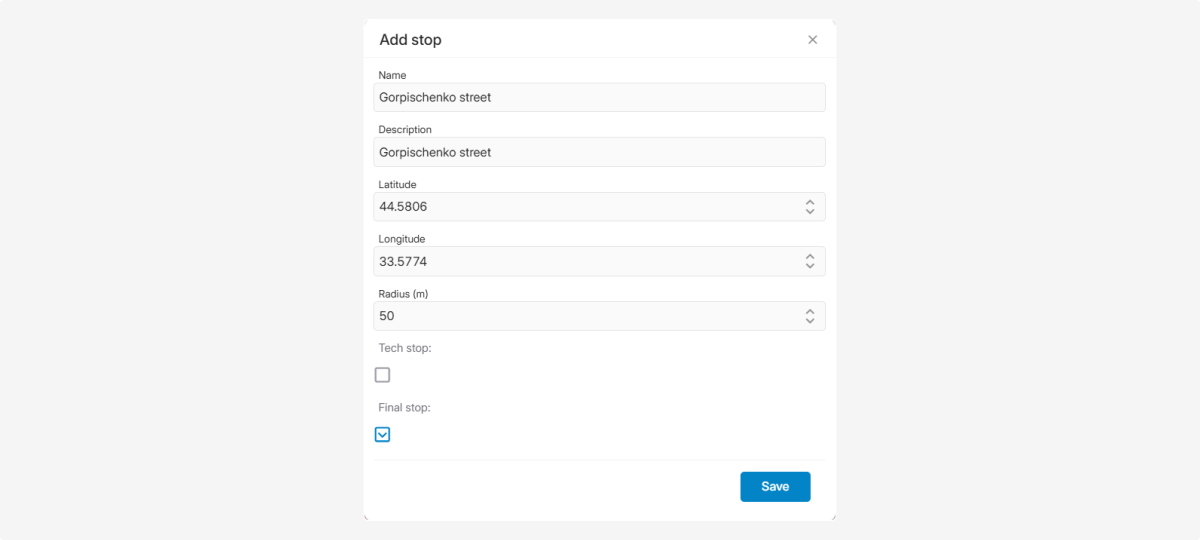
4. Click Save — the stop will appear in the list.
In the list, all added stops are displayed with ID, radius, type, and description.
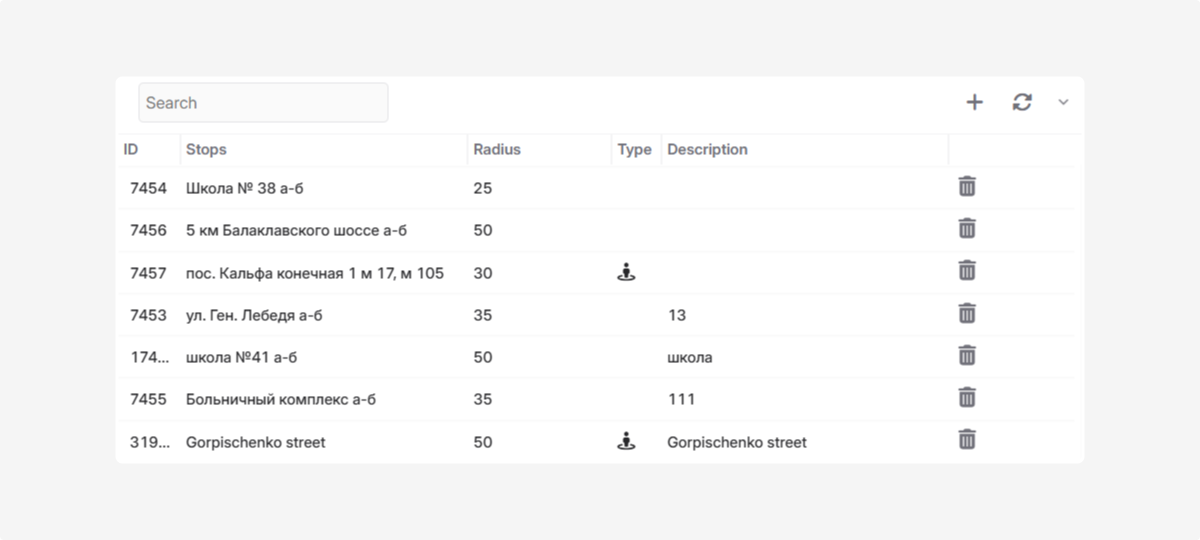
To edit a stop, double-click it in the list and make changes in the window that opens.
To delete a stop from the list, use the delete icon  .
.
.Once you add bus lines, the list will show all created lines and the number of stops in each.
Click the arrow  next to a bus line to expand its stops list.
next to a bus line to expand its stops list.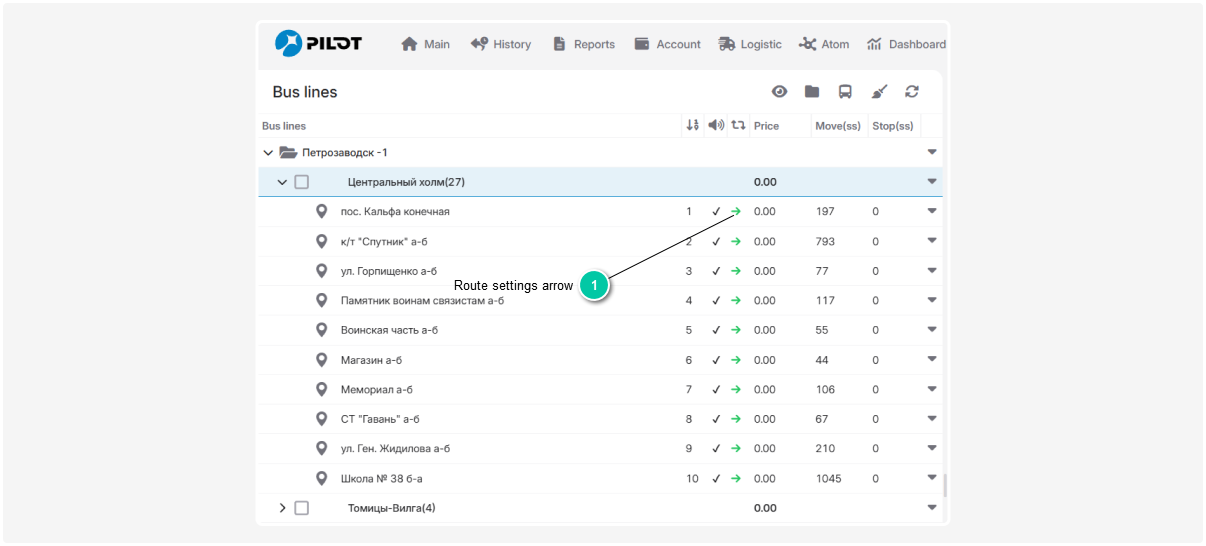
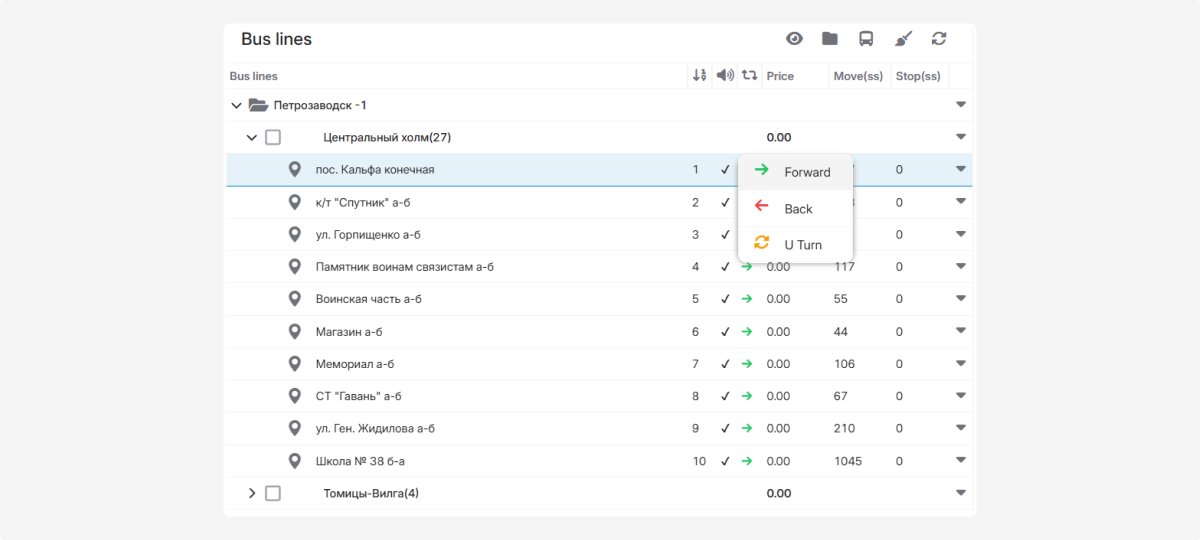
In each stop entry, there is an arrow  — click it to open a menu to manage the route:
— click it to open a menu to manage the route:-
Forward / Back — change the stop order on the route
-
Turnaround — indicate that the bus turns at this stop and starts moving in the opposite direction
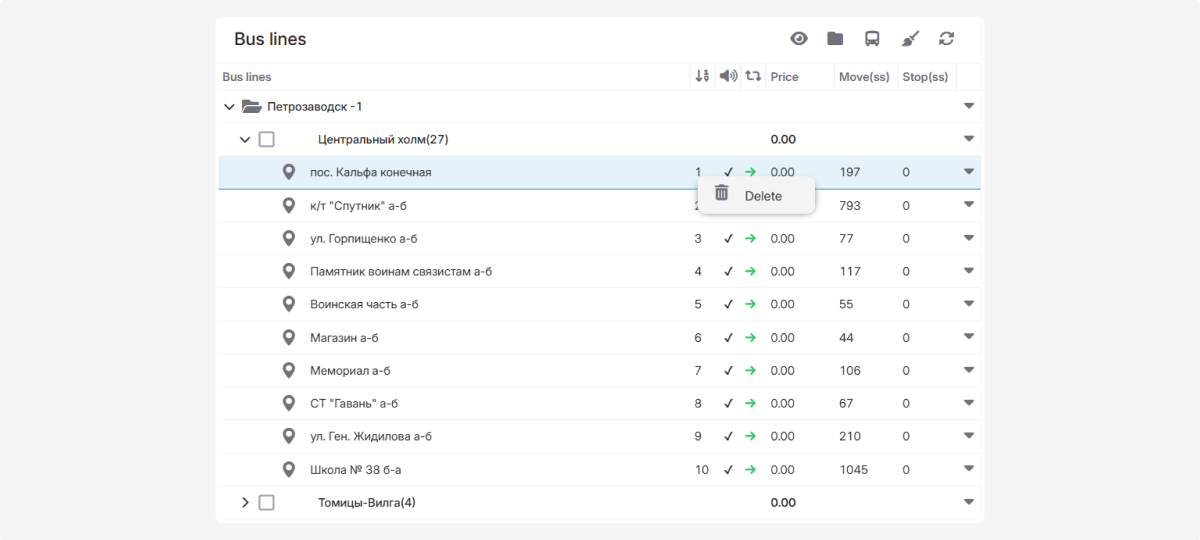
To remove a stop from a line, right-click the stop in the list and select Delete.
A stop visit can be detected using an RFID tag. When a vehicle reads a tag linked to a stop, the system processes the data as a visit to that stop within the assigned bus line.
Before linking a tag, add and configure it in the RFID Tags module. The tag must be located within the stop radius.
To link RFID tags:
1. Create a stop or select an existing one

2. Click the tag icon  next to the stop
next to the stop
3. In the RFID Tags for Stop window, find the required tag by its name or ID

4. Select the checkbox next to the tag

5. Select additional tags if necessary
6. Click Save
You can link multiple RFID tags to one stop. In this case, the system can process the visit when any of the linked tags is read. To display only the tags already linked to the stop, select the Linked checkbox.

If the required tag is not listed, check that it has been added and configured in the RFID Tags module. Also make sure that the tag is located within the stop radius.
After linking the tag, add the stop to a bus line and then assign that bus line to the vehicle. Once all these steps are completed, the system can match the RFID tag read by the vehicle with the corresponding stop and process the visit.