How to create a driver
To add a new driver, go to the Drivers tab in the Main section.

1. Click Add driver
2. The driver profile will open. Fill in the driver information
The driver profile consists of two tabs: Main and Vehicles.

Main tab
This tab contains the driver’s personal information:
-
Driver name — full name or display name shown in the system
-
Date of birth
-
Gender
-
Driving start date
-
Driver’s license — license number and expiration date
-
iButton — authentication key (if driver identification is used)
-
Email — email address
-
Phone — contact phone number
-
Group — the group the driver belongs to
-
Description — any additional information
-
Tags — tags for searching and grouping drivers
-
Photo — driver photoYou can upload a photo by clicking the icon
 under the image. The icon becomes available after the first time you save the profile.

After filling in the details, click Save.
Vehicles tab
On this tab you can:
— assign a driver to a vehicle
— configure access to objects
— enable or disable notifications
Assigning a driver to a vehicle
1. Enable Link driver to vehicle
After that, the Object and Date fields will become active.

2. In the Object field, select the vehicle to assign the driver to

3. Set the date and time when the assignment should start

1 — Date and time when the assignment should start
2 — Show history
If a driver is already assigned to a vehicle, they are not unassigned automatically. The system allows multiple drivers to be assigned to the same vehicle at the same time.
This supports real-life scenarios, such as two drivers in one vehicle or shift changes during a trip.
If you need a vehicle to always have only one active driver, enable the Single_Driver configuration in the contract settings in the admin panel.

In this mode, when a new driver is assigned, the previous one is automatically unassigned. The system will not allow two active driver sessions for one vehicle.
If the driver uses an iButton, assigning a new driver will automatically unassign all previous drivers.
Show history
The Show history button opens a window with the driver’s work history:
— which objects the driver worked with
— during which periods vehicle changes occurred
Access to vehicle
The Access to vehicle field allows you to choose which objects the driver can access in the system.

If specific objects are selected, access will be limited to those objects only. If the field is left empty, the driver will have access to all objects.
Notifications
If Send alerts is enabled, the system will send notifications related to this driver.
If the option is disabled, no such notifications will be sent.

Finishing work with the Driver profile
After configuring all settings, click Save to apply the changes.
Delete — completely removes the driver profile from the system.
Files tab
After the driver profile is saved for the first time, the Files tab becomes available.

Here you can store driver-related documents, for example:
— driver’s license
— medical certificates
— contracts
— other files
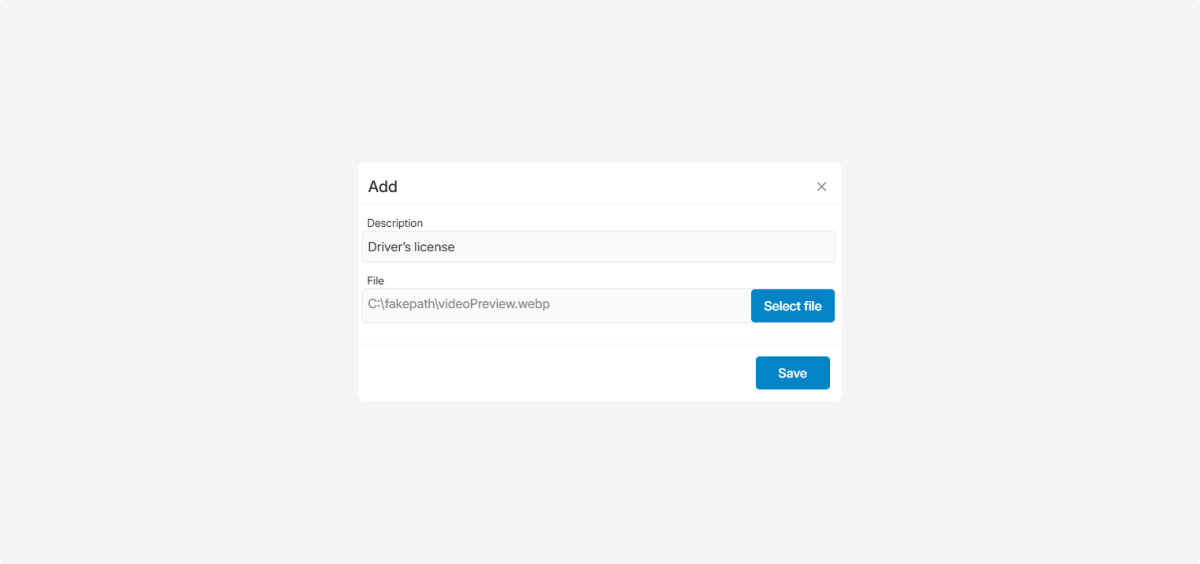
How to add a file
1. Click the Add button 
2. In the window that opens:
— enter a file description
— click Select file and upload a file from your device

3. Click Save
The file will then appear in the list on the Files tab.
To download a file, click it in the File column.
To delete a file, click the trash icon next to it.