Working with drivers
The Drivers tab in the Main section is used to manage drivers in the system.
Here you can:
All drivers are displayed as a list in the Drivers tab.

The table shows:
-
Driver name
-
Tags
-
Vehicle the driver is currently assigned to
-
iButton identification key (if used)
-
Other data — depending on the selected table columns
Configuring table columns
You can customize the driver list by selecting columns, enabling sorting, and applying filters.
1. Click the arrow  in the header of any column — the settings menu will open.

2. In the menu, you can:
-
sort data in ascending or descending order
-
apply filters for the selected column
-
choose which columns are displayed3. To select visible columns:
-
click Columns
-
check the required fields — the table will update automatically
How to open a driver profile
To open a driver profile for viewing or editing:
1. Find the required driver in the list
2. Double-click the row with the driver’s name
The driver profile will open in a separate window.

Driver groups
When adding a driver, you assign them to a group.

Groups are created in the Online tab (object groups), but they can also be used to organize drivers.
The main actions are available at the top of the list:
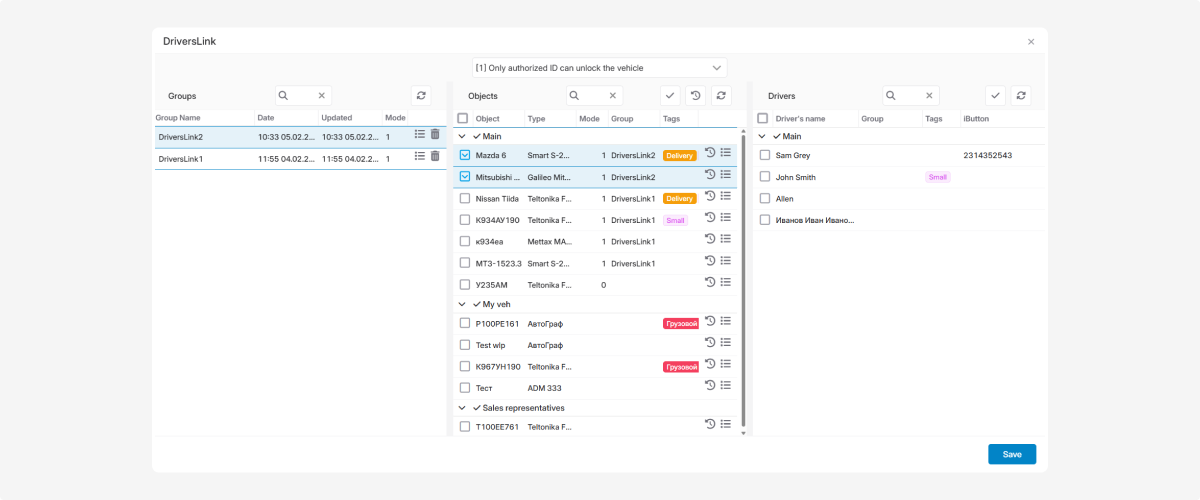
To link drivers with vehicles, open the DriversLink window.
In the Drivers tab, click Assign driver to object  at the top of the list.

In this window, you can:
-
assign drivers to vehicles
-
configure vehicle access using ID / iButton

DriversLink does more than just link a driver and a vehicle — it allows you to create assignment groups.
Each group stores:
-
a list of vehicles
-
a list of drivers
-
the selected access mode
1. Select an Access mode
At the top of the window, choose one of the following modes:
[0] Disabled
Driver ID control is turned off. The vehicle can be used without driver identification.
[1] Only authorized ID can unlock the vehicle
Only assigned drivers are allowed to use the vehicle.
[2] Any ID can unlock the vehicle
Any ID can start driving. The system only records who is driving.

2. Select vehicles
In the Objects section, select the vehicles to which the settings should be applied.
3. Select drivers
In the Drivers section, select the drivers who are allowed to access the selected vehicles.
-
If mode [0] Disabled is selected, drivers do not need to be chosen.
-
If mode [1] or [2] is selected, drivers must be assigned.
4. Create an Assignment group
After selecting vehicles and drivers:
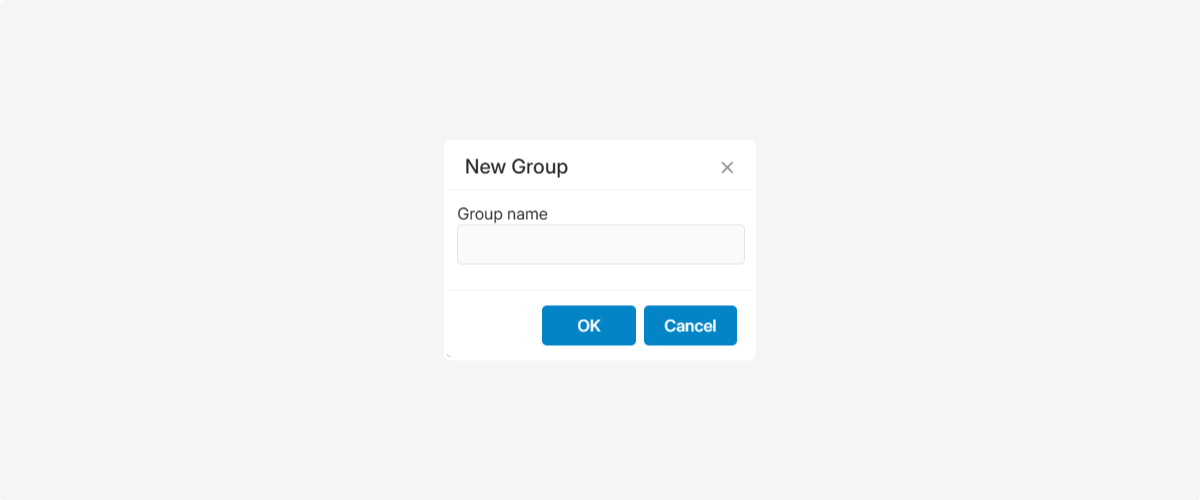
1. Click Save
2. In the popup window, enter a group name and click OK

The group will appear in the list on the left and will contain:
-
the selected access mode
-
the list of vehicles
-
the list of drivers
The group name will also appear in the Group column for the selected vehicles.
5. Apply the settings
Click Save at the bottom of the window. The selected settings will be applied to all vehicles in the group.