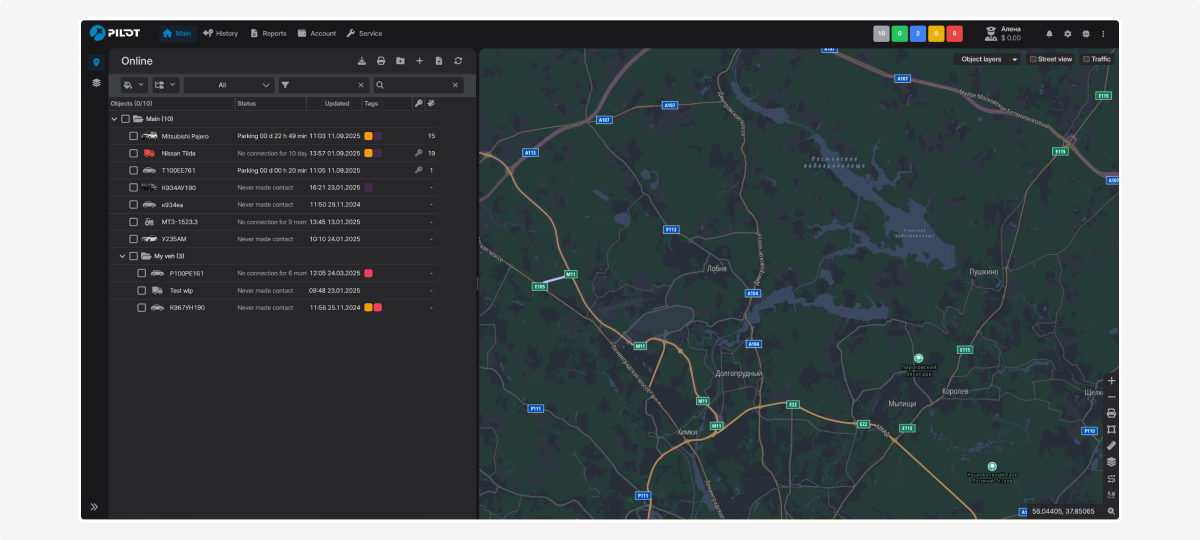
Top panel
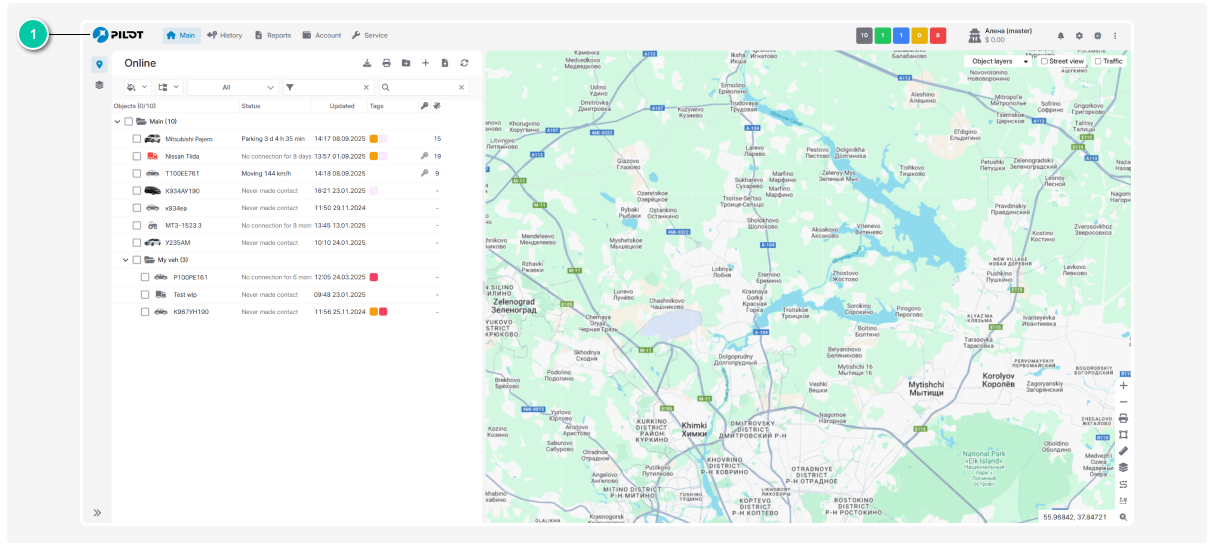
The navigation menu is organized into two levels:
-
Main menu
Located on the top bar and contains the system’s main sections: Online, Reports, History, and others.
The set of sections in the main menu depends on the modules enabled for your account.
|
You can reorder sections on the top bar by dragging them. This lets you place frequently used sections first for quick access.
-
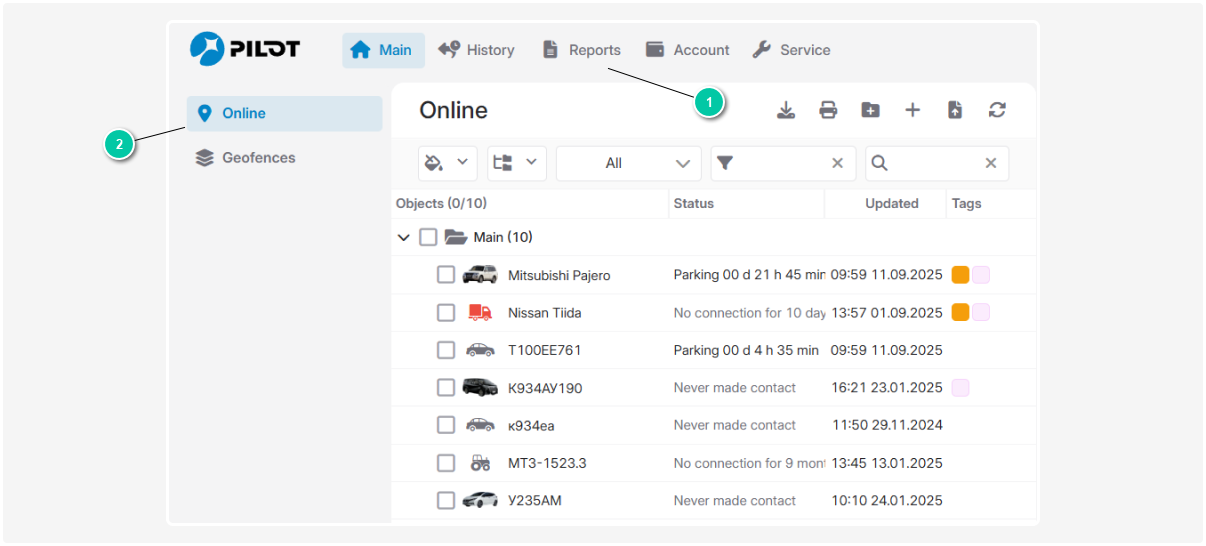
Section menu
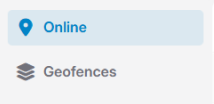
Displayed on the left side of the interface and changes depending on the section selected in the main menu. Contains tabs for working with detailed information and tools for the current section.
For example, when you select the Main section in the main menu, the left-side menu shows corresponding tabs with more in-depth information for that area.
Managing the section menu view:
-
Full view — shows icons and the names of all tabs.
-
Compact view — collapses to icons only, freeing up more space for the main content.
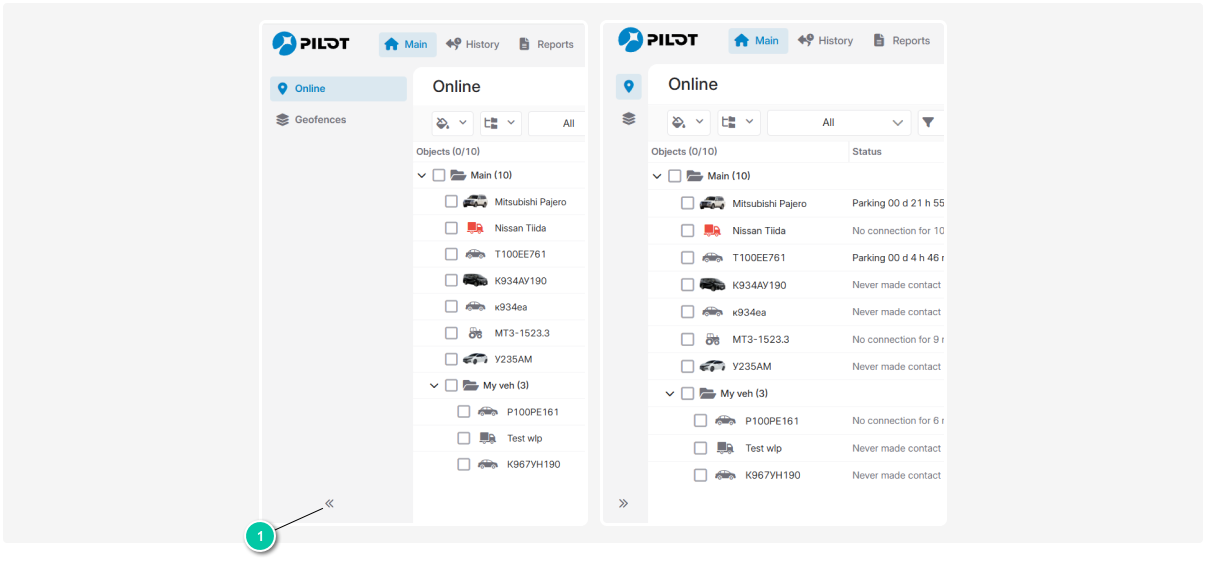
To switch between modes, click the arrow at the bottom of the menu.
How to use the navigation menu:
-
Select the desired section in the main menu on the top panel
2. Open the relevant tab in the section menu on the left
3. Work with the information or perform actions on the page that opens
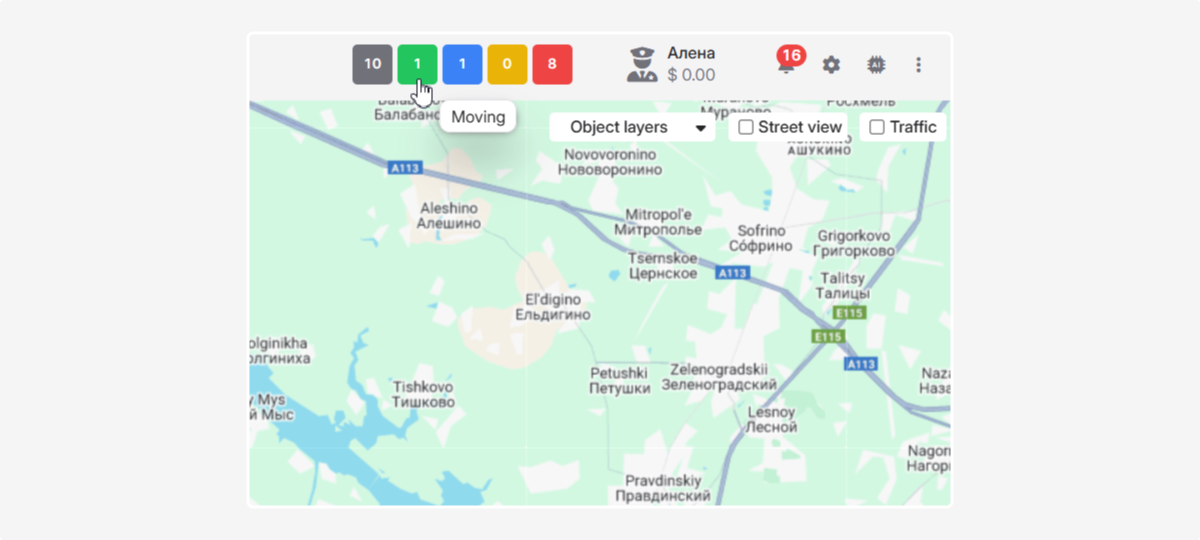
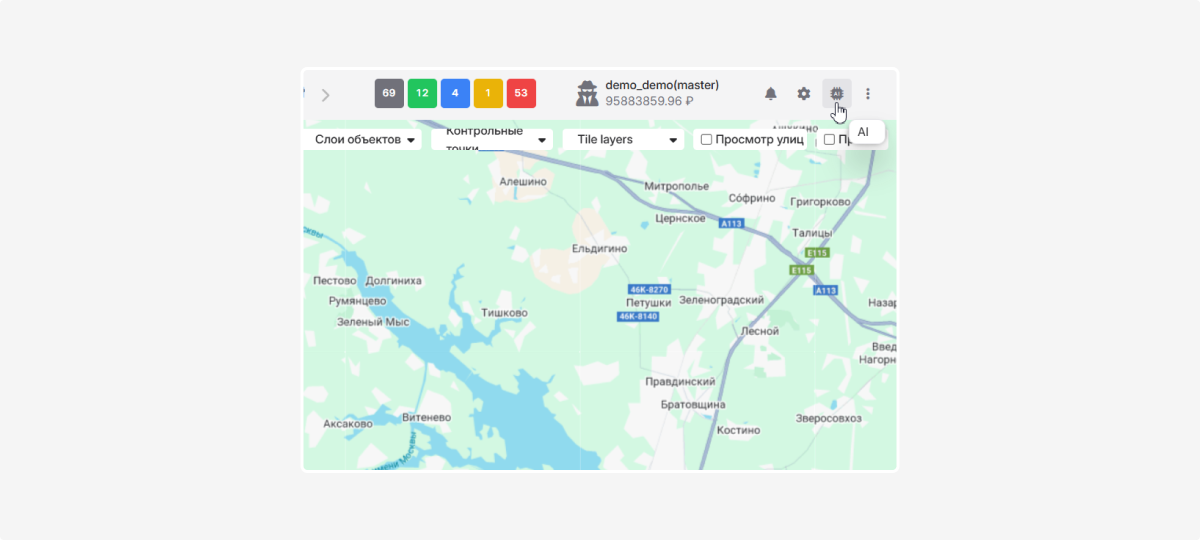
The top panel also shows the number of objects and their statuses.
By default, the status palette includes:
You can customize the status palette on the top bar. Learn how to do this here.
|
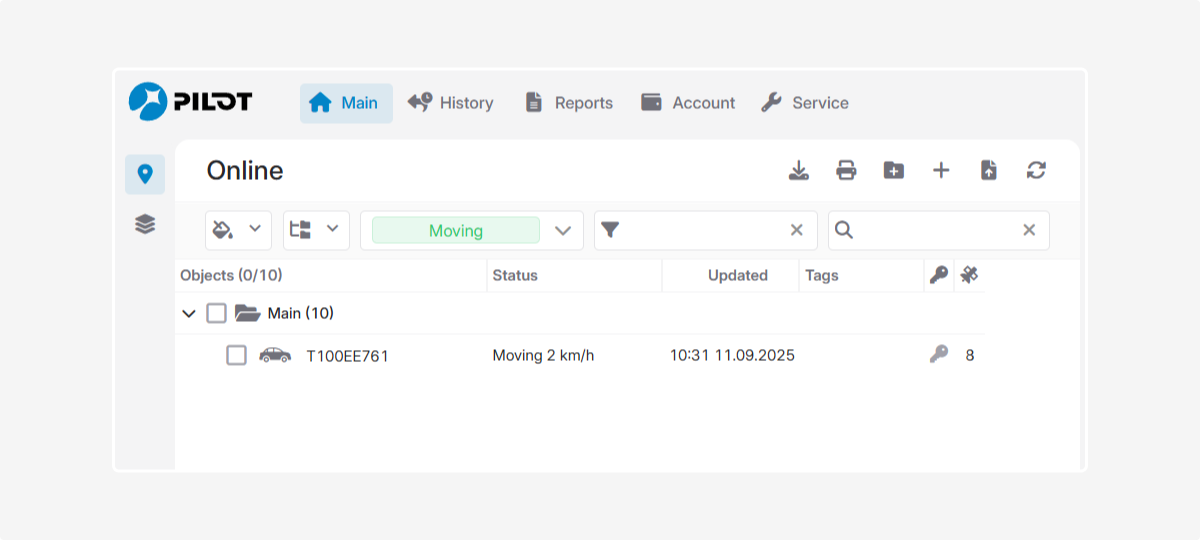
Clicking a status automatically filters the objects list by that status.
For example, click the Moving status to show only moving objects.
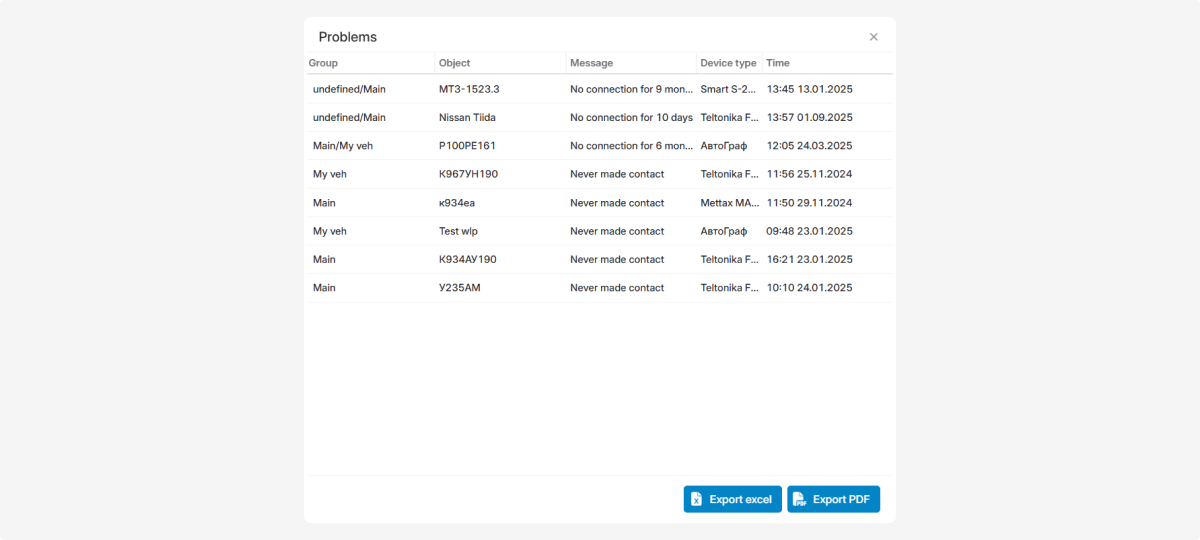
Inactive objects status
When you click the inactive status icon, a window opens with a complete list of inactive objects and the duration of inactivity for each. In this window, you can review details for any object and, if needed, download the entire list to Excel.
The top panel displays the username you are registered under. Next to it, you’ll see the current account balance, which shows the funds available in your account.
In PILOT, you can set up notifications about events related to an object: speeding, idling, refueling, violations, entering or exiting a geofence, and more.
Requirements:
-
The Notifications module must be enabled in your contract
2. Notification parameters must be configured in advance
To enable the Notifications module, contact your contract administrator
|
To view your received notifications, click the notifications icon  on the top bar.

For detailed setup instructions, see the article about the Notifications module.
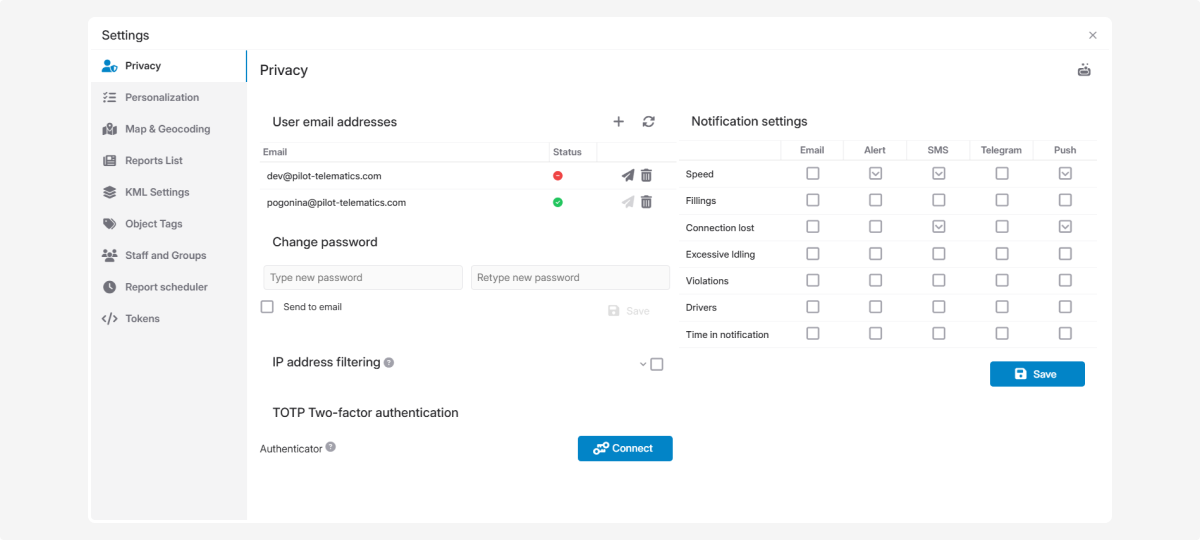
Account configuration settings
-
Privacy and data access
-
Interface appearance and units of measurement
-
Display of addresses and events on the map
-
Access to reports
-
Additional geographic data (KML/KMZ)
-
Object tags
-
User account management
-
Scheduled report distribution
-
Access tokens
You can find a detailed description of all available settings and how to change them in the next section, Account settings
The AI bot is a smart helper that acts as a technical consultant. It helps you find answers faster and get assistance right inside the system.
The bot is available in all languages and can help you with:
-
How to use the platform’s features
-
Where to find the information you need
-
How to solve technical tasks more easily
How to use the AI Assistant:
-
Click the icon
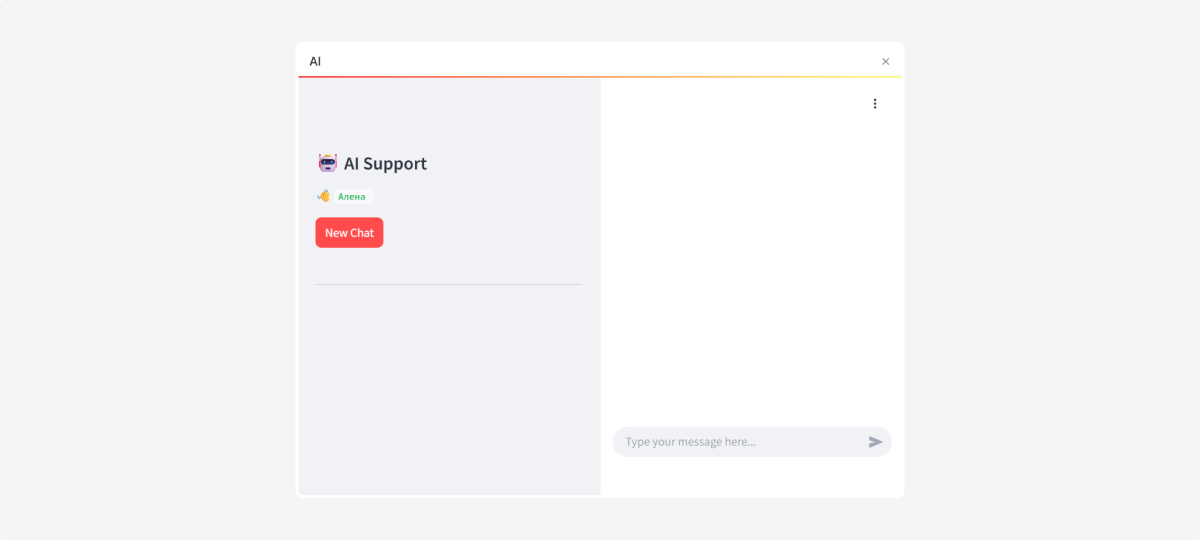
 on the top panel2. A chat window will open. On the left, you’ll see the list of chats and a New Chat button. On the right, there’s the message input field.3. Type your question in the input field at the bottom right and press Enter

To return to a previous conversation or delete a conversation, use the icons  and
and  next to the chat.
In the top-right corner of the chat window, there is a three-dots button  .
.
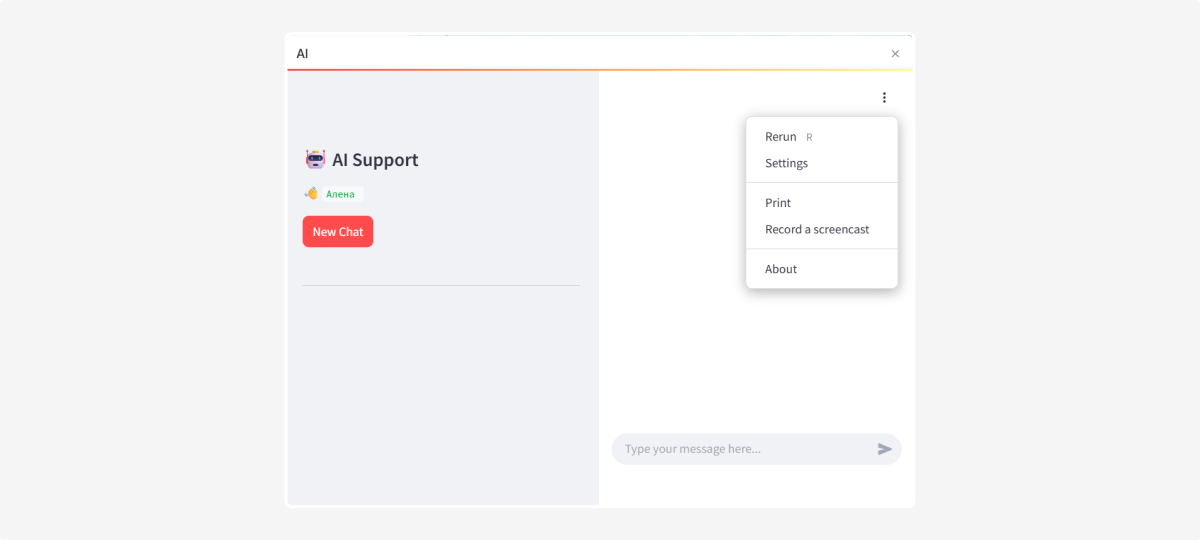
Click it to open a menu with:
-
Restart application — quickly restart the assistant if something goes wrong
-
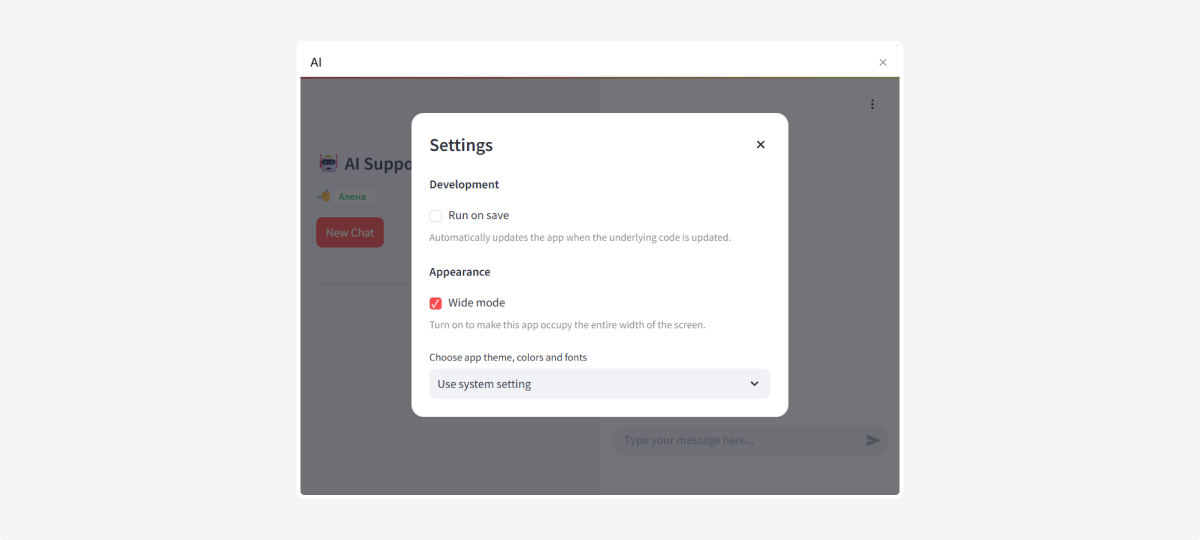
Settings — here you can:— enable wide mode for a more comfortable chat view— choose the app theme
-
Print conversation — print your chat with the assistant
-
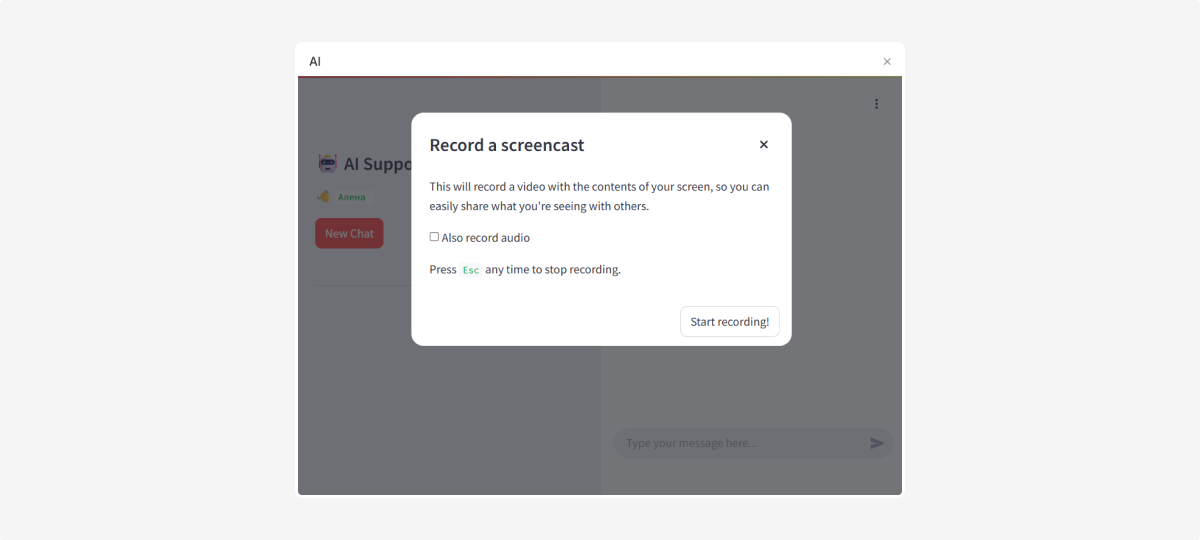
Screen recording — record a video of your screen:— you can include audio— press Esc to stop recording— click Start recording to begin
-
About — view the app version and developer informationAs with any AI-based system, the bot may sometimes make mistakes. It’s best to double-check important details or contact Support for clarification.
Watch the video to learn how to activate and use the AI Bot.
|
The menu is located on the right side of the top panel and opens when you click the icon
.
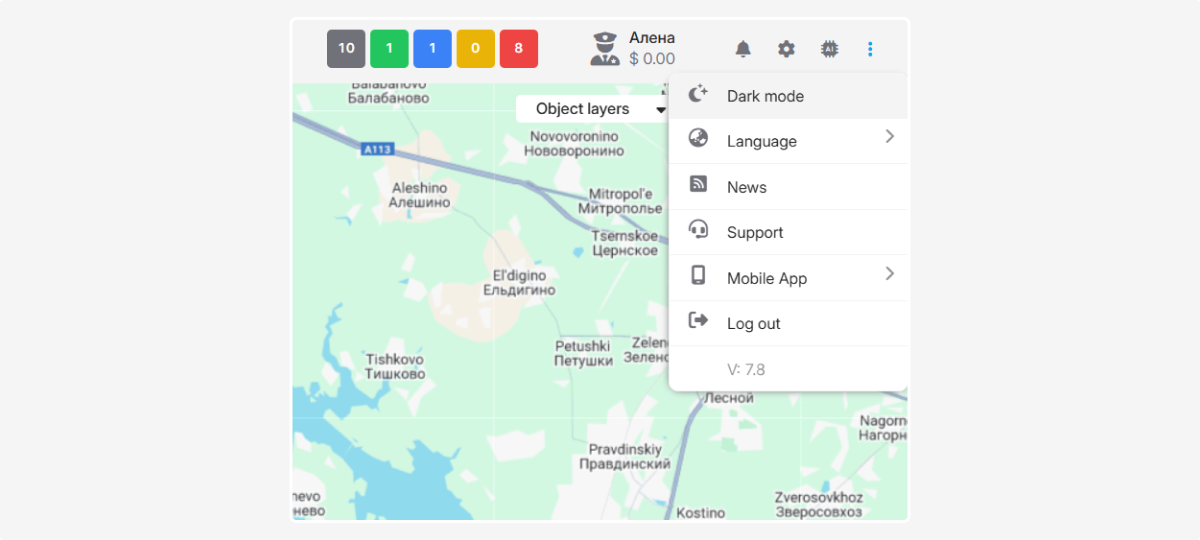
Here you’ll find options to tailor your experience with the platform:
-
Interface themeChoose the display mode that’s easiest on your eyes: use the light theme for daytime work, and the dark theme to reduce eye strain in the evening or at night.
-
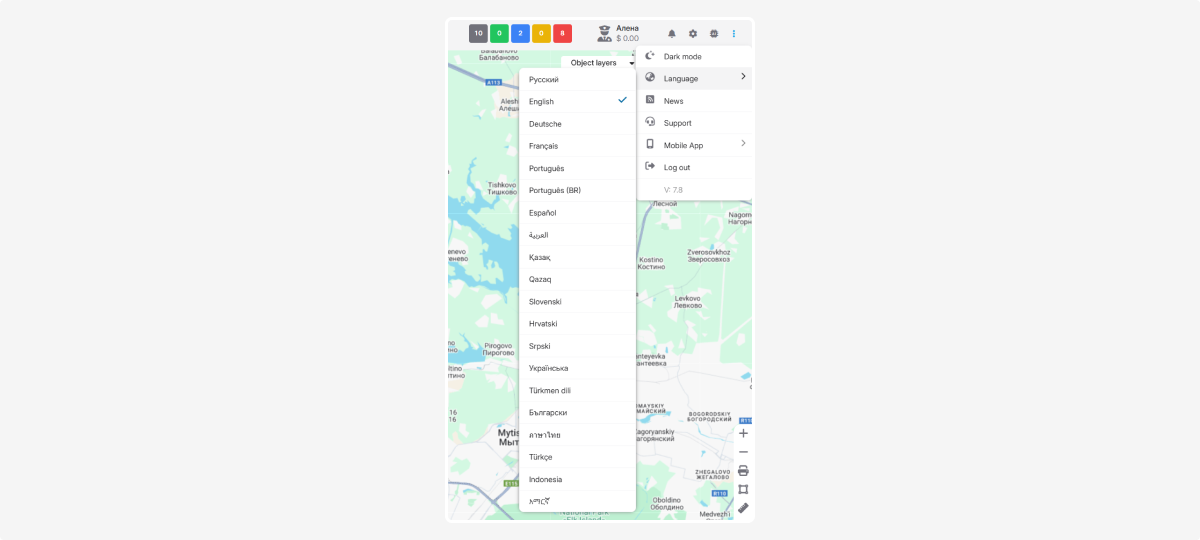
Language
Select your preferred interface language.
-
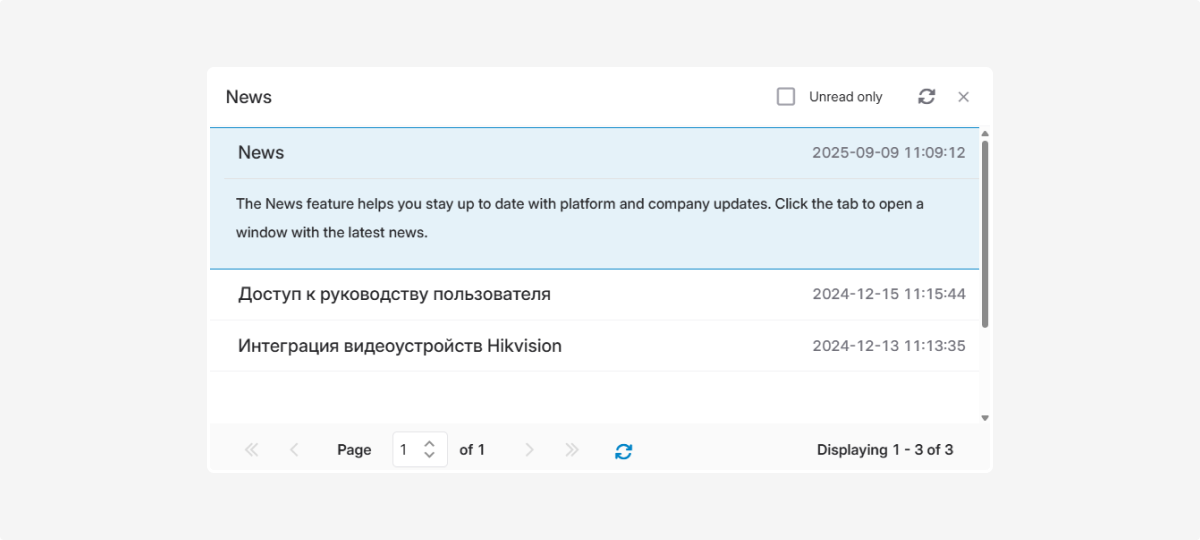
News center
The News feature helps you stay up to date with platform and company updates. Click the tab to open a window with the latest news.
-
Technical support
Click the Support button to contact our support team. Describe your situation, and PILOT specialists will help resolve it.
-
Log outUse the Log out button to exit your account.