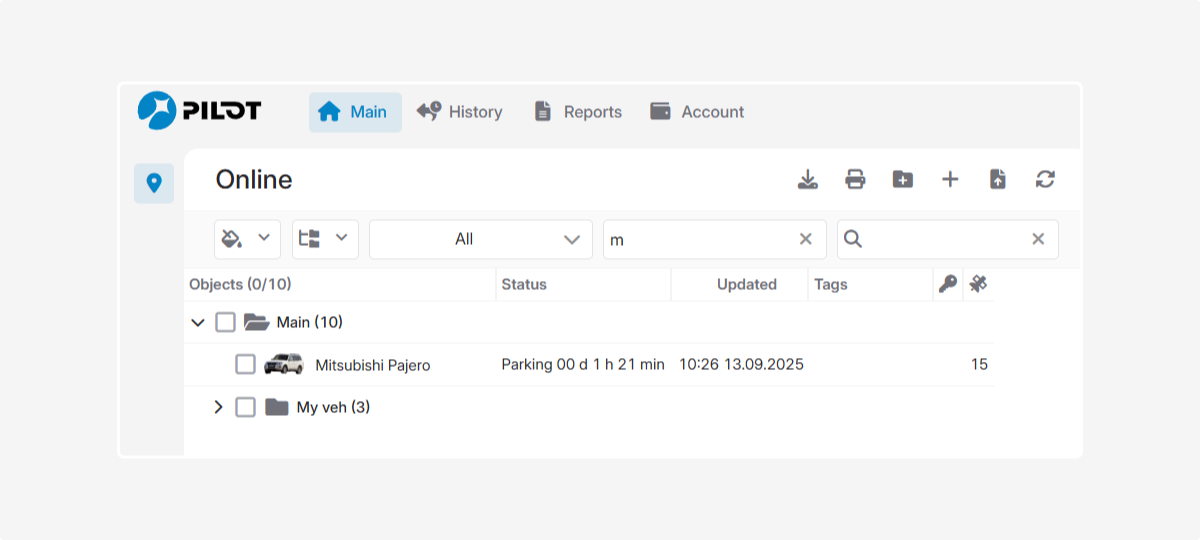
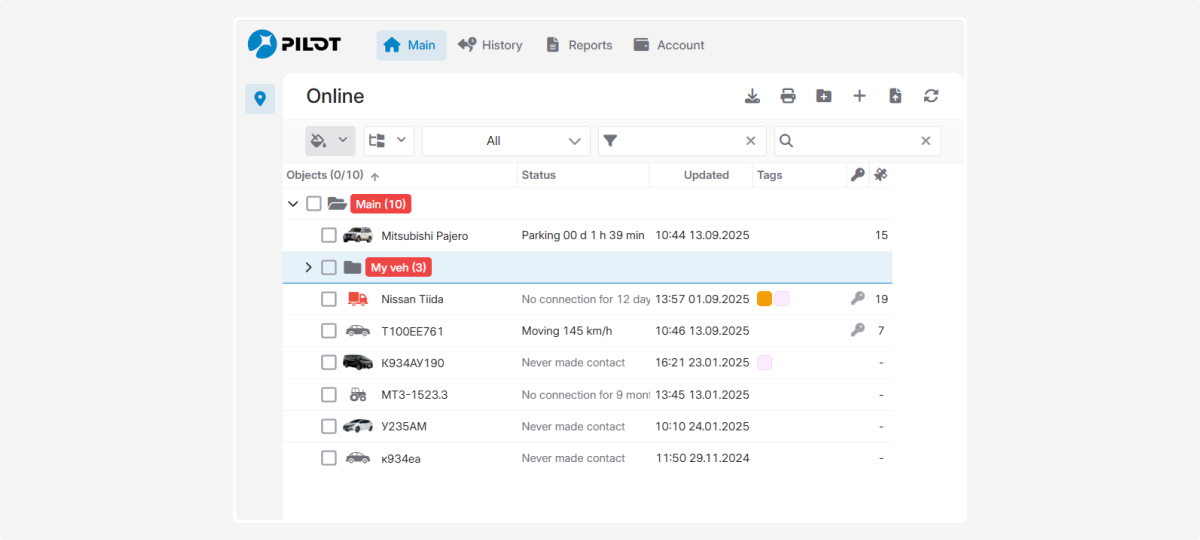
Object list
In the Online tab, you will find the list of objects. Here, you can monitor the status of your objects and control their parameters.
Working with the list
Here we will consider the functions for working with the list.
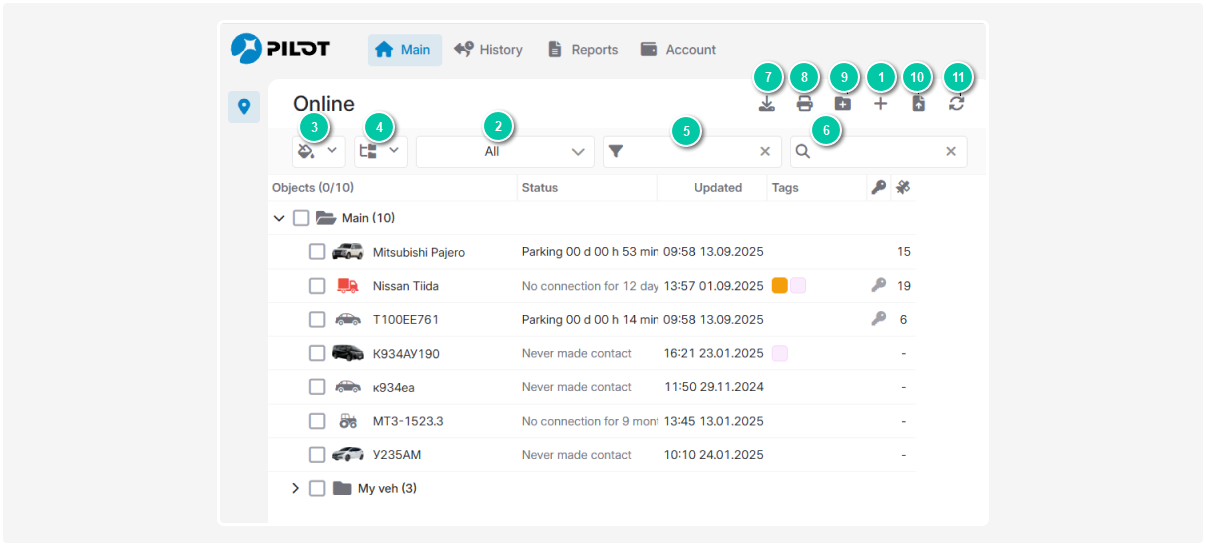
To add a new object, click this button. Then fill in the information in the object card. After saving, the new object will appear in the list.
|
|
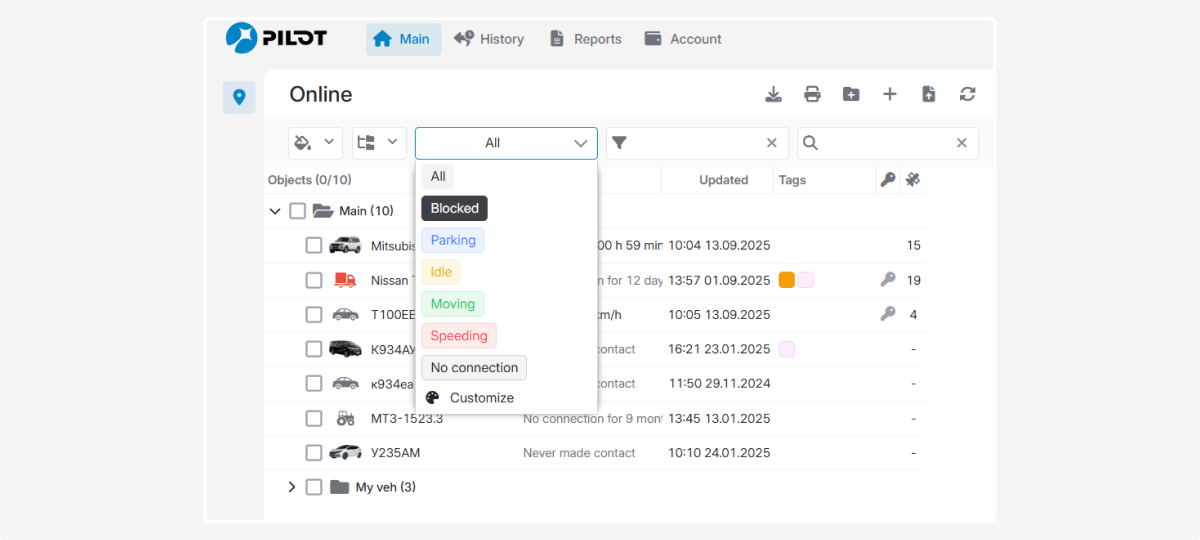
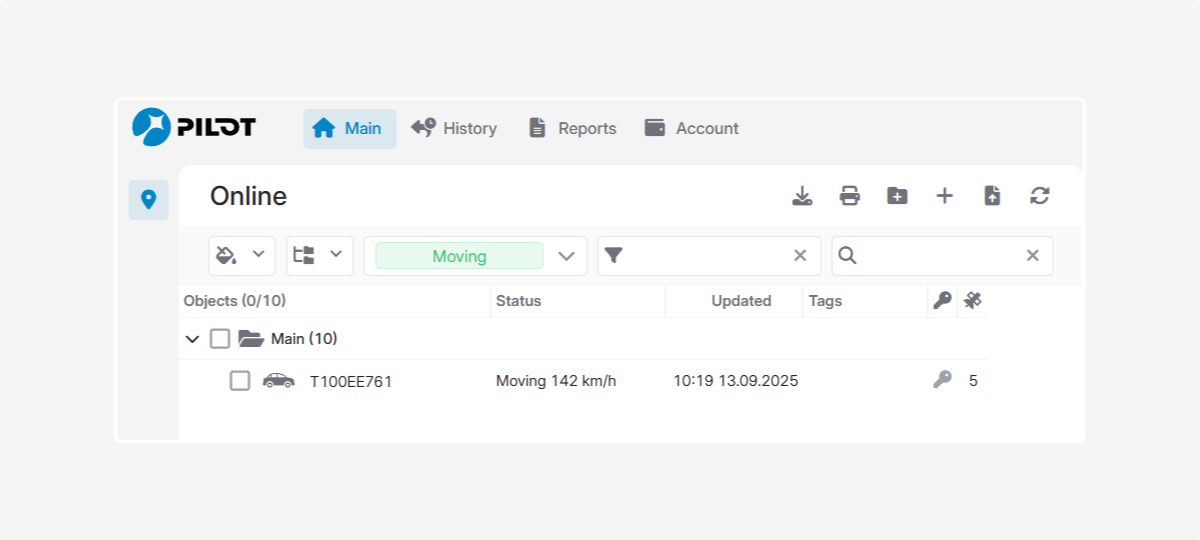
Filtering objects in the list by status:
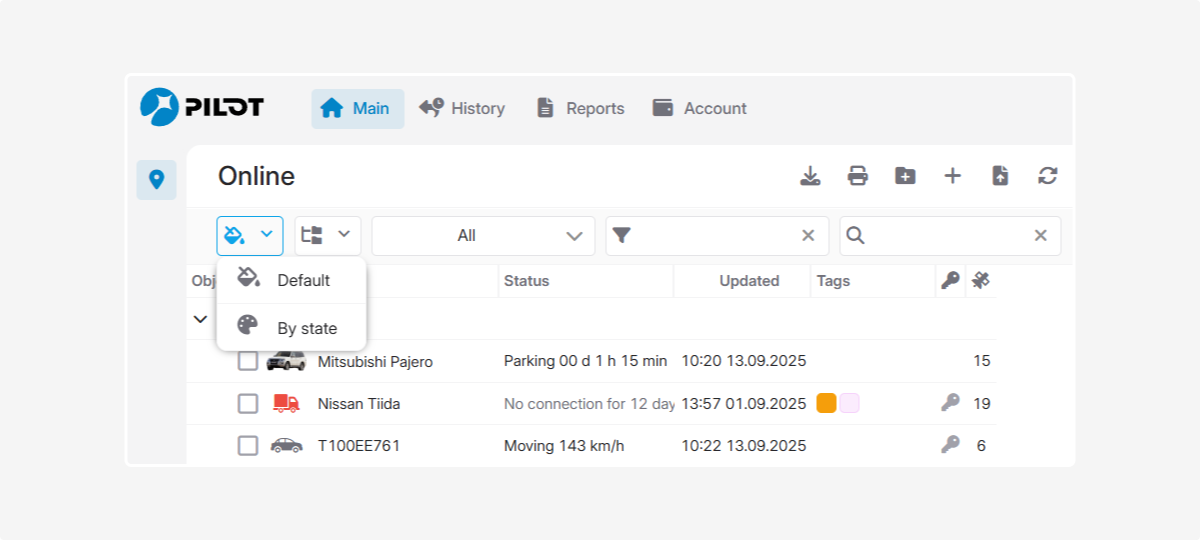
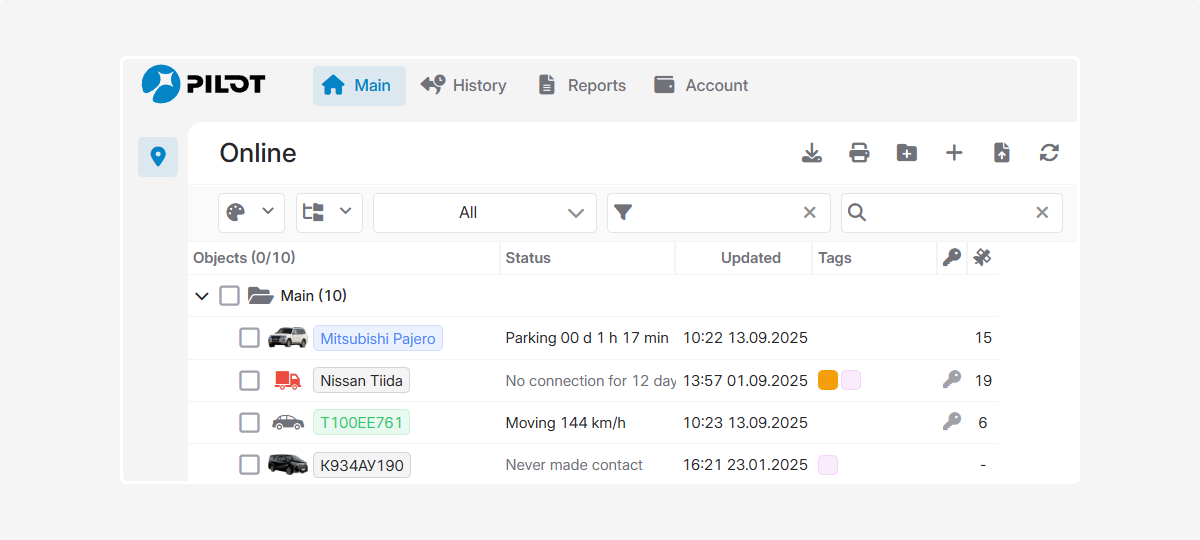
Color indicators in the list highlight each object in a specific color, which makes it easy to determine whether the object is moving, parked, or has problems.
2. In the window that opens, select your preferred colors for each object status
3. Click Save — the status colors will be updated
Use the Reset to default button to restore the standard palette.
Turn on the display of color statuses in the object list by clicking the corresponding button
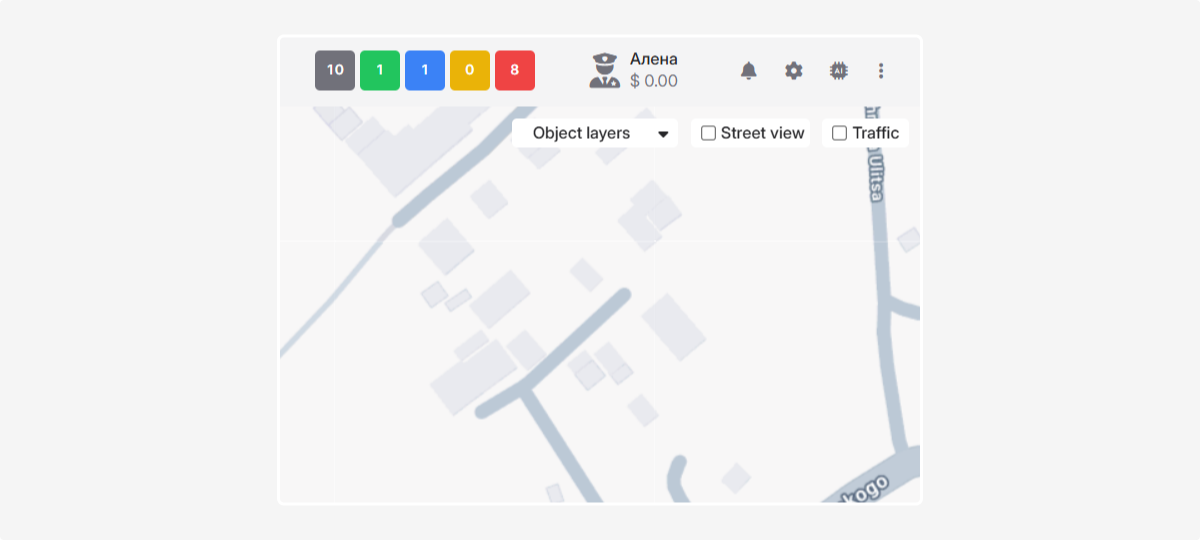 Clicking on a status on the top panel filters the list, displaying only objects with that status.
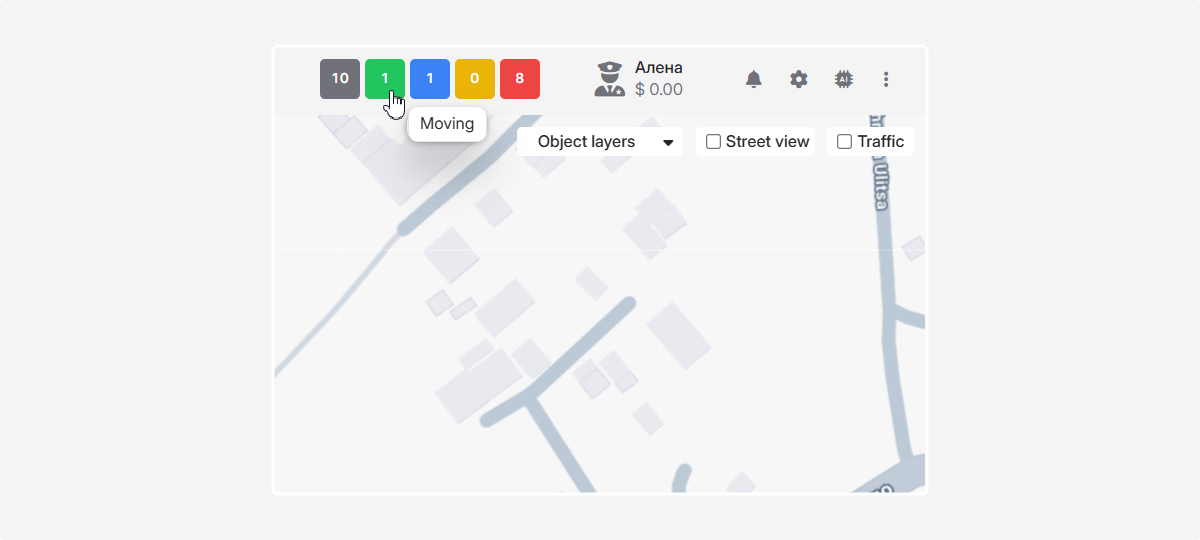 For example, if you click Moving, only moving objects will remain in the list.
 | ||||

9. Add object group
See below for how to create and manage object groups.
|
10. Import from WLP
This function transfers objects from the Wialon system to PILOT.
See the related guide for details.
|
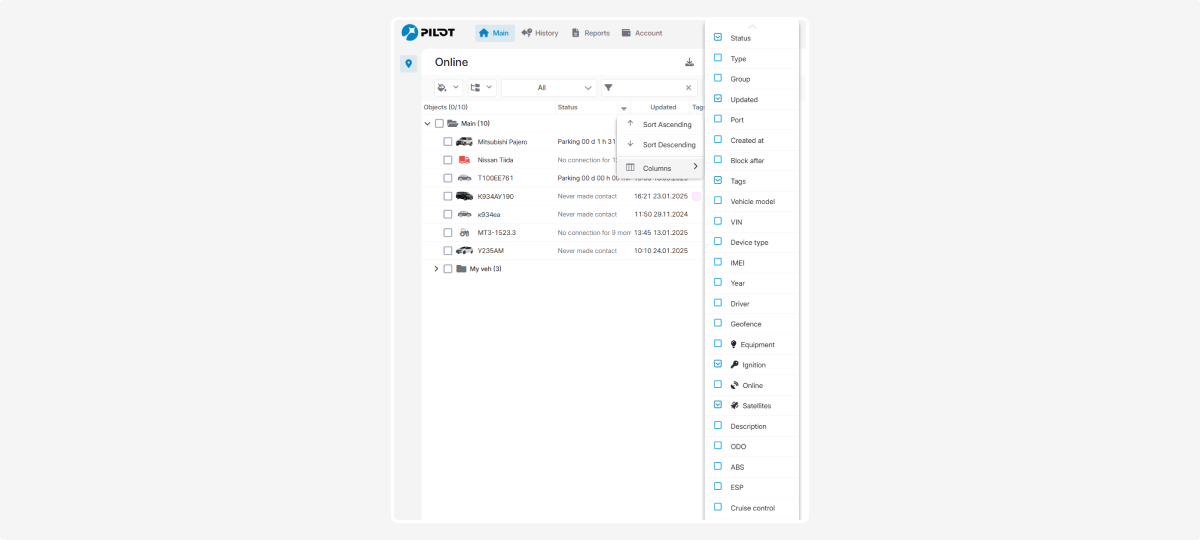
Customize the object list table to your needs: choose which columns to display, and configure sorting and filters.
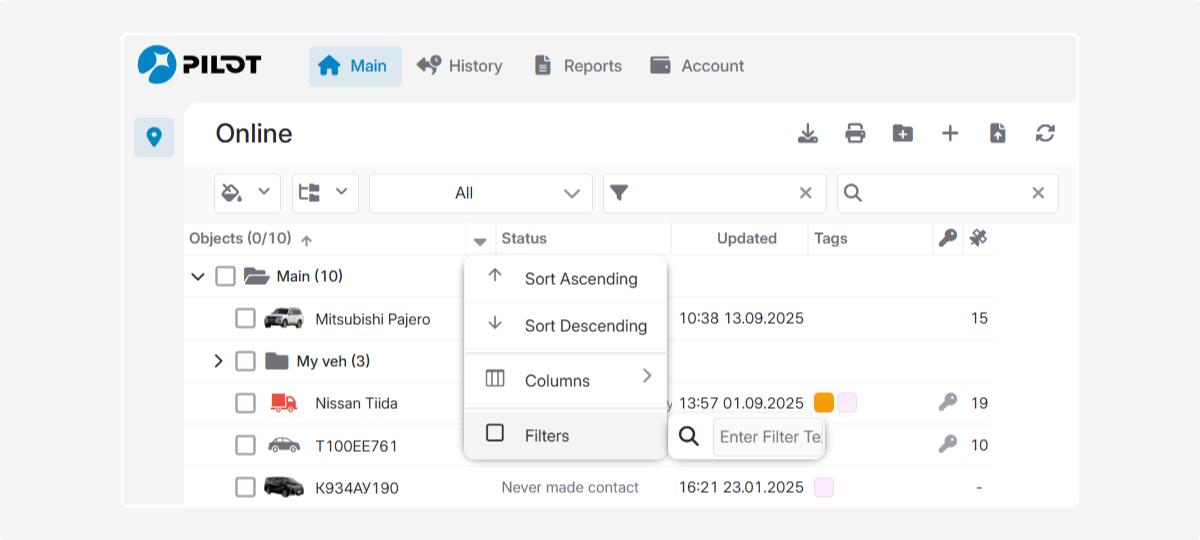
How to customize the table:
-
In the column header, click the arrow
 . The column settings menu will appear:
 -
Sort data ascending or descending
-
Select columns to display
-
Filter data by the chosen column
2. To choose which columns to display:
-
Click Columns — a list of available parameters will appear
-
Check the boxes for the parameters you want to see
If you need new parameters, contact your administrator.
Additional fields are created in the vehicle field editor in the Admin panel.
Column data filters
Each column has filters to quickly find objects by certain parameters.
Types of filters:
-
List selection — check one or more values from a dropdown.
Example: filter objects by Type by selecting the needed value in the Type column. The table will instantly show matching objects.
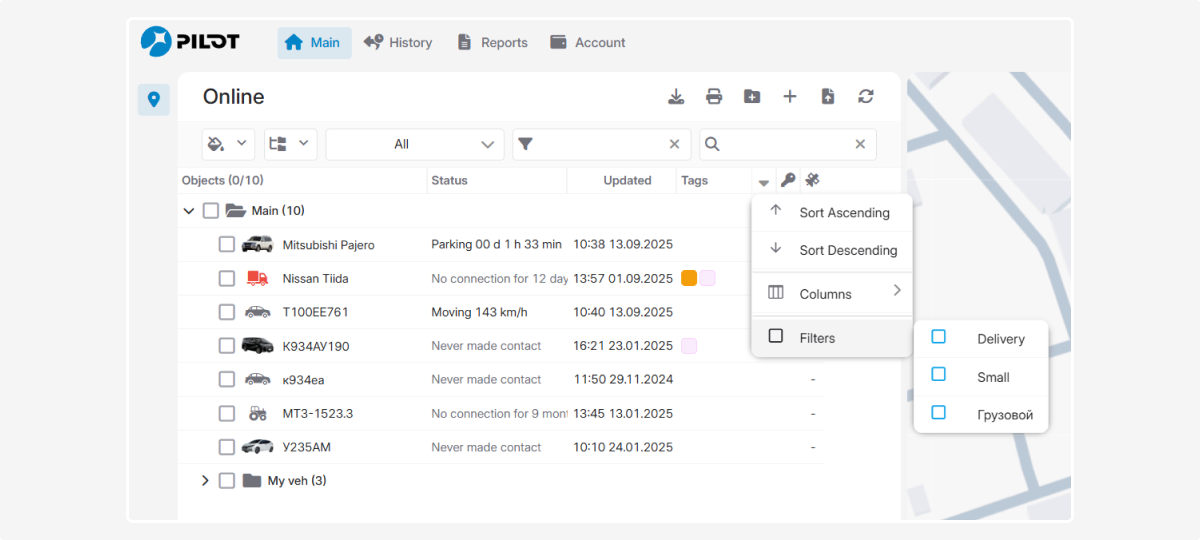
-
Search field — type a value, and the table will filter objects by your query.
Example: filter by Geofence by typing the name in the search field. The table will show matching objects.
You can group objects by any criteria for better organization.
Groups are also used to assign access rights to multiple objects at once.
How to create a group:
-
Click Add group in the workspace

2. Enter the group name
3. Click Save
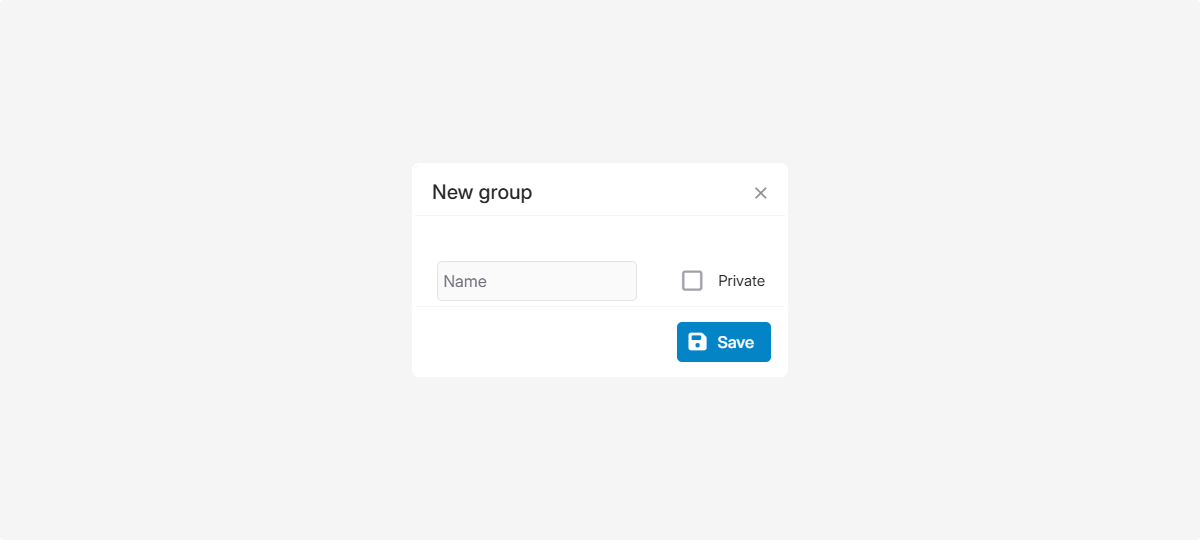
If marked as private, the group will only be visible to the user who created it.
Working with groups
To add an object to a group, drag and drop it into the group.
To manage a group:
1. Right-click the group
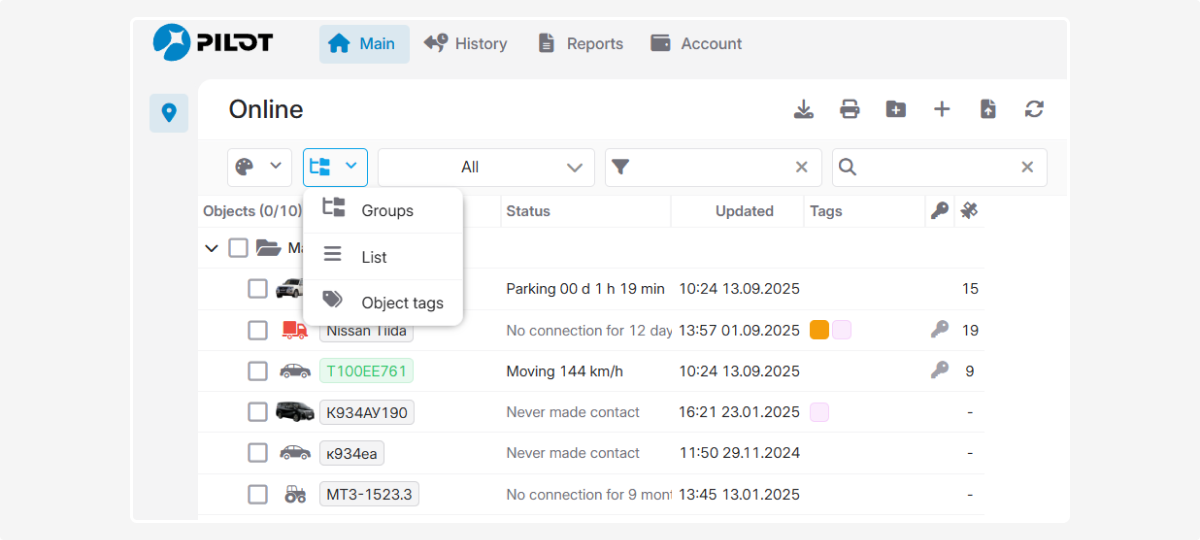
To show or hide the list of objects within a group, click the expand/collapse icons.
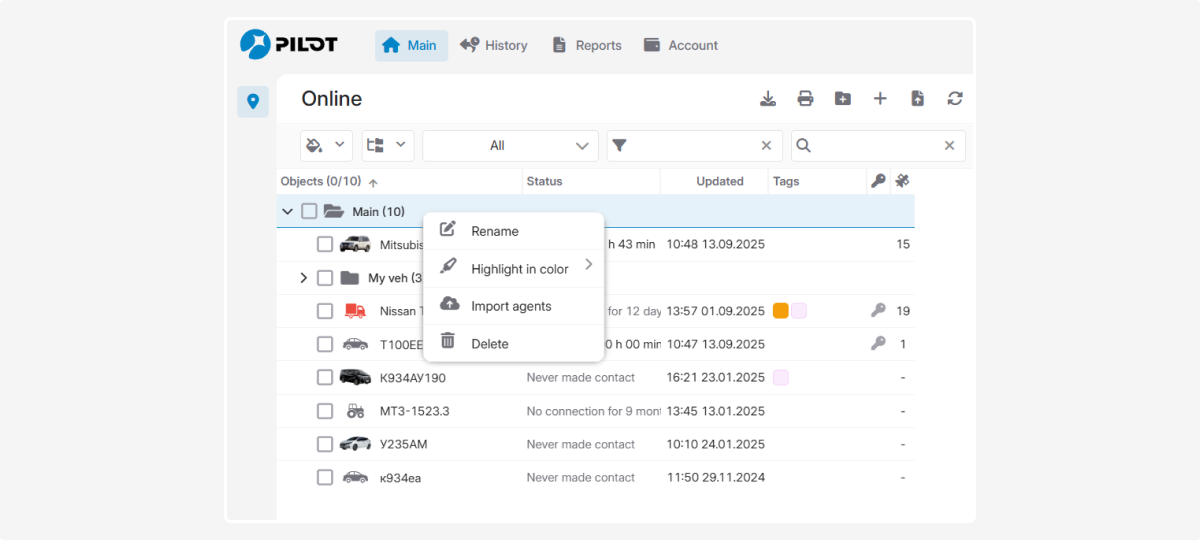
2. Select an action:
-
Rename
-
Highlight in the list
-
Import objects (upload a list of objects)
-
Delete
To delete a group, first remove its objects.
|
To show or hide the list of objects within a group, click the expand  /collapse
  icons.