How to link an algorithm to a notification
In this article, we explain how to configure algorithms to work through notifications.
You will learn:
For an algorithm to start working and automatically respond to events, it must be linked to a notification.
To use this feature, the Notifications module must be enabled in the account.
|
When linked, the algorithm will trigger automatically when the conditions are met and the event will appear in the Control room.
1. In the top panel, click the Settings icon  and open Account settings
and open Account settings2. Go to the Notifications tab

3. Click  to create a new notification
to create a new notification4. Link an algorithm
1) In the notification settings window, click Algorithm binding

2) Select the required algorithm from the list

3) Click the algorithm — its block diagram will open

5. Configure algorithm blocks
1) Double-click the required block
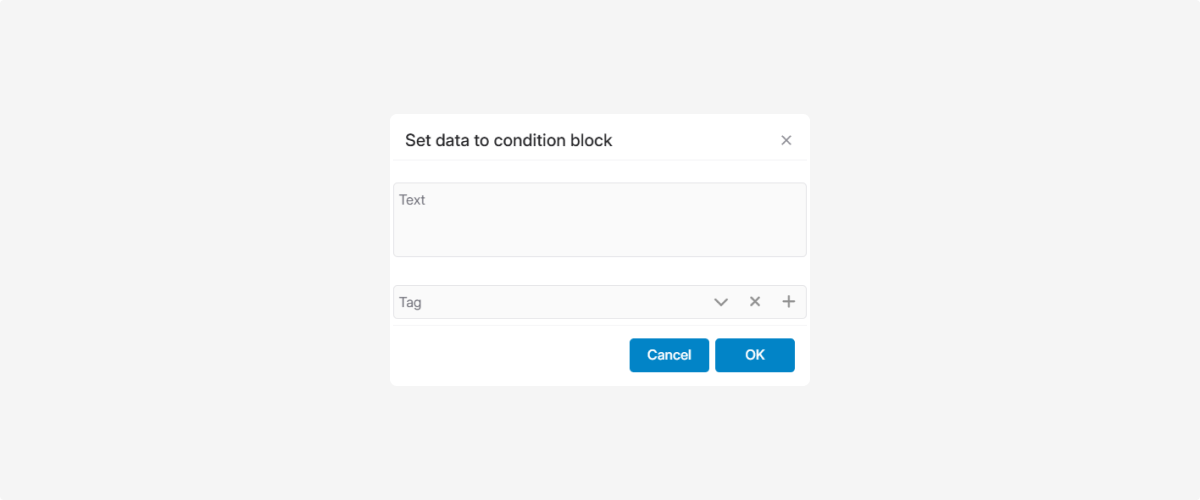
2) Enter the text and select event tags

3) Click OK
How to create a tag
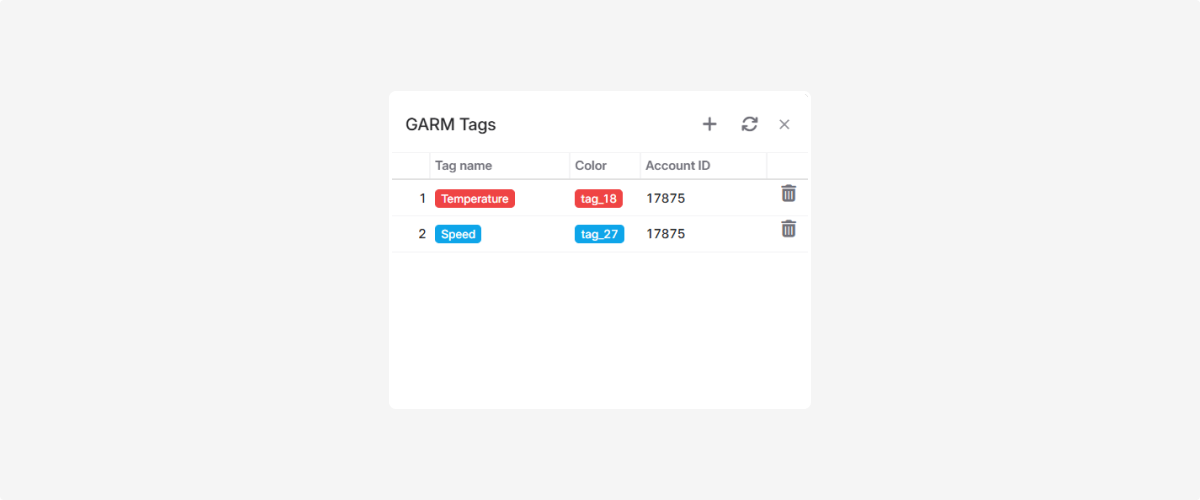
Tags help quickly understand the nature of an event and visually highlight it in the list.
If the required tag does not exist:
1. Click the Tag field
the Tag field2. In the tags window, click
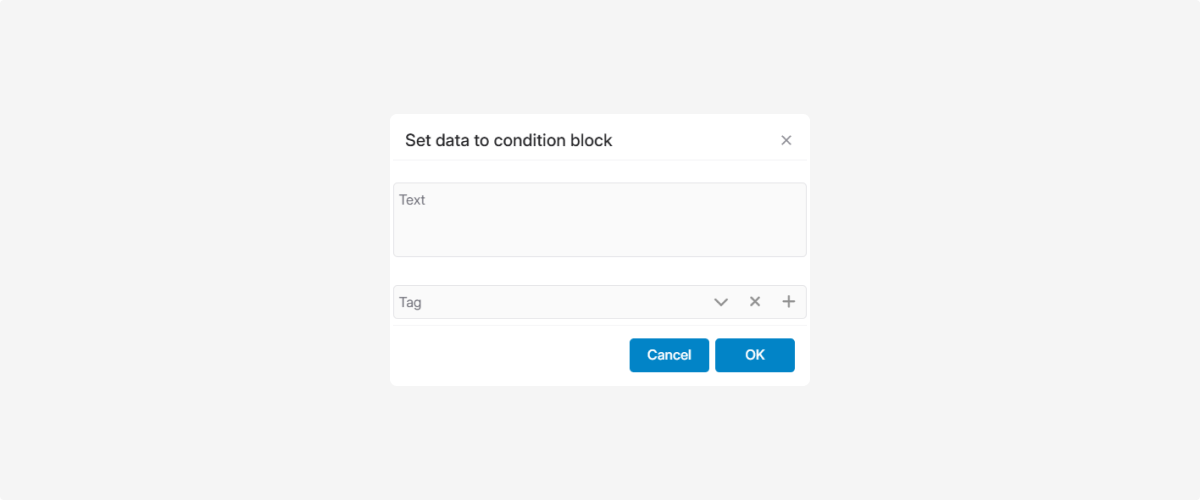
3. Enter the tag name and choose a color

4. Save — the tag will appear in the list and become available for selection
The Webhook block sends event data from PILOT to an external system, such as a CRM, dispatch system, or corporate application. The request is sent when the algorithm reaches this block. For more information about how webhook notifications work and how to configure them, see this article.
If the algorithm contains a Webhook block:
1. Select the Webhook block in the diagram

2. Double-click the block to open its settings
3. Click the edit icon  next to the block name
next to the block name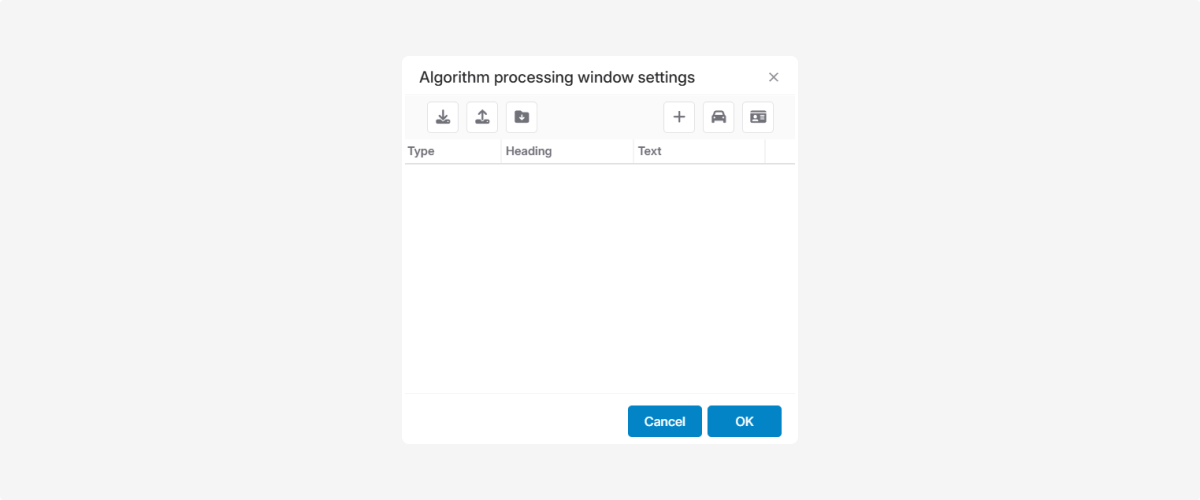
4. Complete the fields in the Webhook Details window

URL
Enter the address of the external system to which PILOT should send the data. Obtain this address from the administrator or developer of the receiving system.
Header
Specify the request headers. By default, the data is sent in JSON format:
[
"ContentType: application/json"
]
|
Change the headers only if the receiving system requires a different data format or additional parameters.
Body
Specify the data to be sent. The following template is used by default:
{
"agent_id": "%AGENTID%",
"vehiclenumber": "%VEHNUM%",
"ts": "%TS%",
"lat": "%LAT%",
"lon": "%LON%",
"speed": "%SPEED%",
"data": "%DATA%",
"zone": "%ZONE%",
"driver": "%DRIVER%"
}
|
The system automatically replaces the variables enclosed in % signs with data from the event. For example, %SPEED% is replaced with the object speed, while %VEHNUM% is replaced with the vehicle number.
You can modify the request body by removing unnecessary fields, adding custom fields, or using other available variables.
Keep the JSON syntax valid:
"field_name": "%VARIABLE%"
|
If the JSON structure or variable syntax is invalid, the external system may not receive or process the request.
Allowed variables
|
Placeholder
|
What it sends
|
|
%ACCOUNTID%
|
Account ID
|
|
%AGENTID%
|
Object ID
|
|
%VEHNUM%
|
Vehicle number
|
|
%TS%
|
Timestamp
|
|
%DATETIME%
|
Date and time
|
|
%LAT%
|
Latitude
|
|
%LON%
|
Longitude
|
|
%SPEED%
|
Speed
|
|
%ODO%
|
Mileage (from sensor)
|
|
%DATA%
|
Notification data
|
|
%ZONE%
|
Geofence
|
|
%ZONE_ID%
|
First geofence ID
|
|
%ZONE_NAME%
|
First geofence name
|
|
%DRIVER%
|
Driver
|
|
%MAXSPEED%
|
Maximum speed (for overspeed notifications)
|
|
%DUR%
|
Overspeed duration
|
|
%SPEEDLIMIT%
|
Configured speed limit (Speed Control)
|
The available variables may depend on the notification type. For example, %MAXSPEED%, %DUR%, and %SPEEDLIMIT% are intended for speeding notifications.
After completing the fields, click Save, and then click OK to confirm the block settings. If different branches of the algorithm contain separate Webhook blocks, configure each block individually.
Configure the event processing form
You can customize how the event processing form looks for the operator.
1. In the algorithm binding window, click Settings

2. Click to insert elements
to insert elements
Available settings:
-
Element type — the type of block (for example, plaintext for regular text)
-
Heading — block title
-
Text — information shown to the operator

Example:
1. Add a plaintext element
2. In Heading , enter: Event information
3. In Text, enter: Check the cargo temperature and contact the driver

To add a vehicle information block, click the vehicle icon. A new block with type vehicle will appear, where you can set the title and text.
1 — To add a vehicle information. To add a driver information block, click the driver license icon. A new block with type driver will appear, where you can also define the title and text.
2 — To add a driver information
After configuration, click OK — the operator will see the event form exactly in this layout.
Finalizing notification setup
1. In the Notification settings window, specify:

-
Notification name
-
Object
-
Notification type — Control room (GARM)
-
Notification conditions (for example, the Temperature parameter and its threshold)2. Click Save3. The notification with the linked algorithm will appear in the list and will be sent to the Control room when the conditions are met.
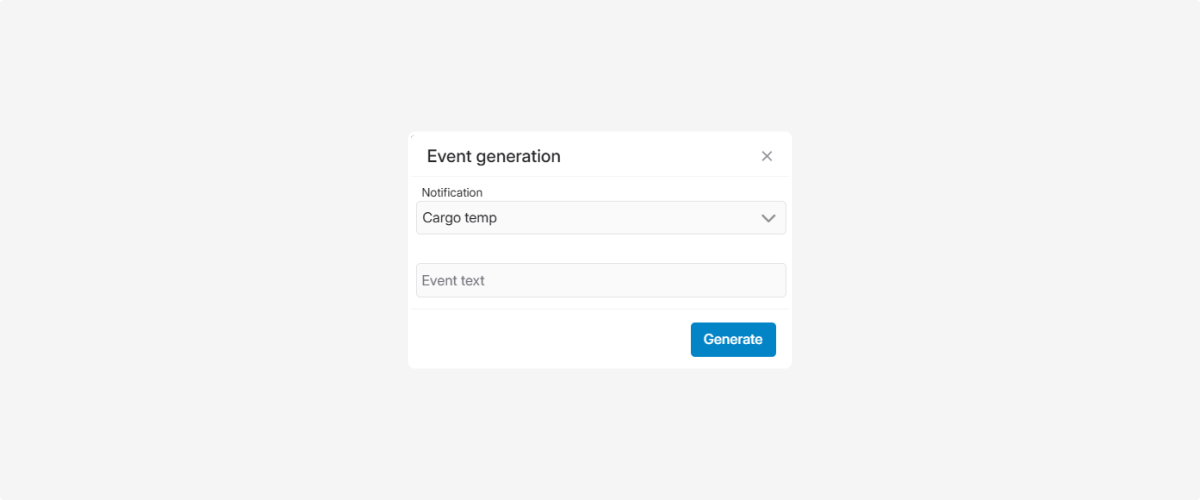
Manual event generation is used when an event does not occur automatically — for example, in emergency situations, for testing, or when an operator needs to record an event manually.
How to create a notification for manual generation
1. Open Account settings and go to the Notifications tab
2. Click
3. In the notification settings, specify:

1 — Notification type Control room (GARM)
2 — Only for manual generation
-
Object
-
Notification name
-
Notification type — Control room (GARM)
-
Group
-
Enable Only for manual generation
4. Click Algorithm binding
5. Select the required algorithm and click OK
6. Save the notification

How to generate an event manually
1. Select an object in the main list
2. Right-click it and choose Generate event

3. Select the notification type for manual generation and enter the event text
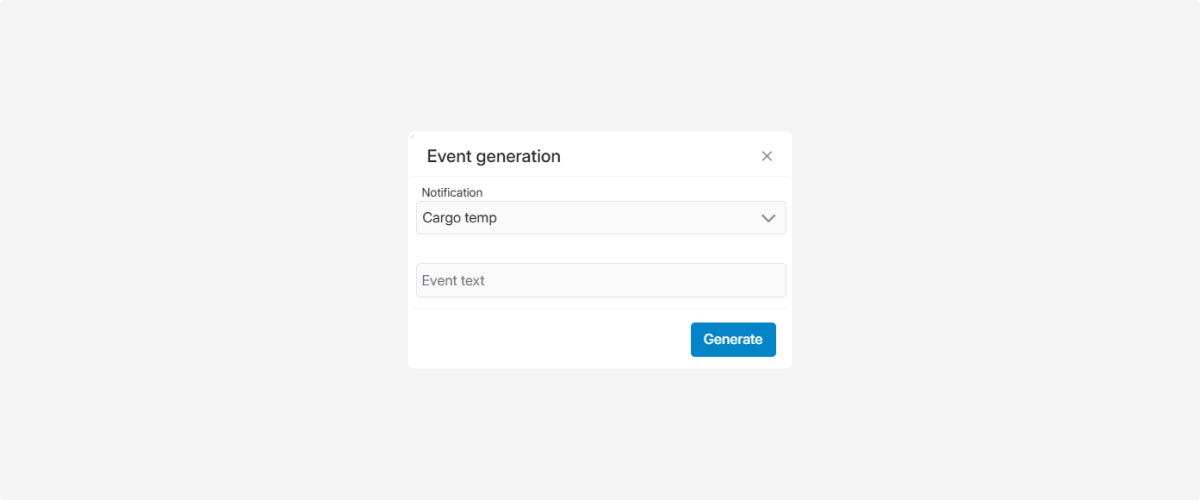
4. The event will appear in the panel and will be processed according to the linked algorithm